
Kitchen Cabinet Screws and Fasteners
SPAX® Engineered Fasteners help you create strong connections for virtually every part of your kitchen build and remodels.
EXCEPTIONAL SOLUTIONS FOR SPECIAL PROJECTS
Preparing for Construction
Preparing for construction is a critical step in the timeline. Dust from demolition and installation is always a concern and we’ve listed some helpful hints to assist you during construction and after installing cabinets, easing the transition back to a fully functioning kitchen and home.
- Seal off the kitchen area doorways with plastic sheeting.
- Close all vents on the same floor as the kitchen during construction days.
- Close as many doors as possible.
- In adjoining rooms, cover furniture with blankets, and bookcases with plastic painter's tarps.
- Take a break – plan time away from the project including dinners out.
- When possible, set-up the construction area in a garage or outside covered area to eliminate the dust and noise of construction in the home's living space.
We've Got You Covered
Find the right screw or fastener for your next job with the largest variety of diameters, lengths and head styles in the industry.
Related Products


Fasteners and Screws Are Crucial to A Good Remodel
Embarking on a kitchen remodel is an opportunity to transform the heart and soul of your home into a space that perfectly suits your needs and style. But behind the scenes, the right screws and fasteners are the unsung heroes that hold it all together. Whether you're reframing your space, installing cabinets, shelving, or hanging new doors, the choice of screws is crucial for ensuring stability and longevity. In this application, we'll explore the essential screws and fasteners needed for various aspects of your kitchen renovation, empowering you to make informed decisions and create a kitchen that's not only beautiful but also built to last.
WE'VE ANTICIPATED EVERY NUANCE
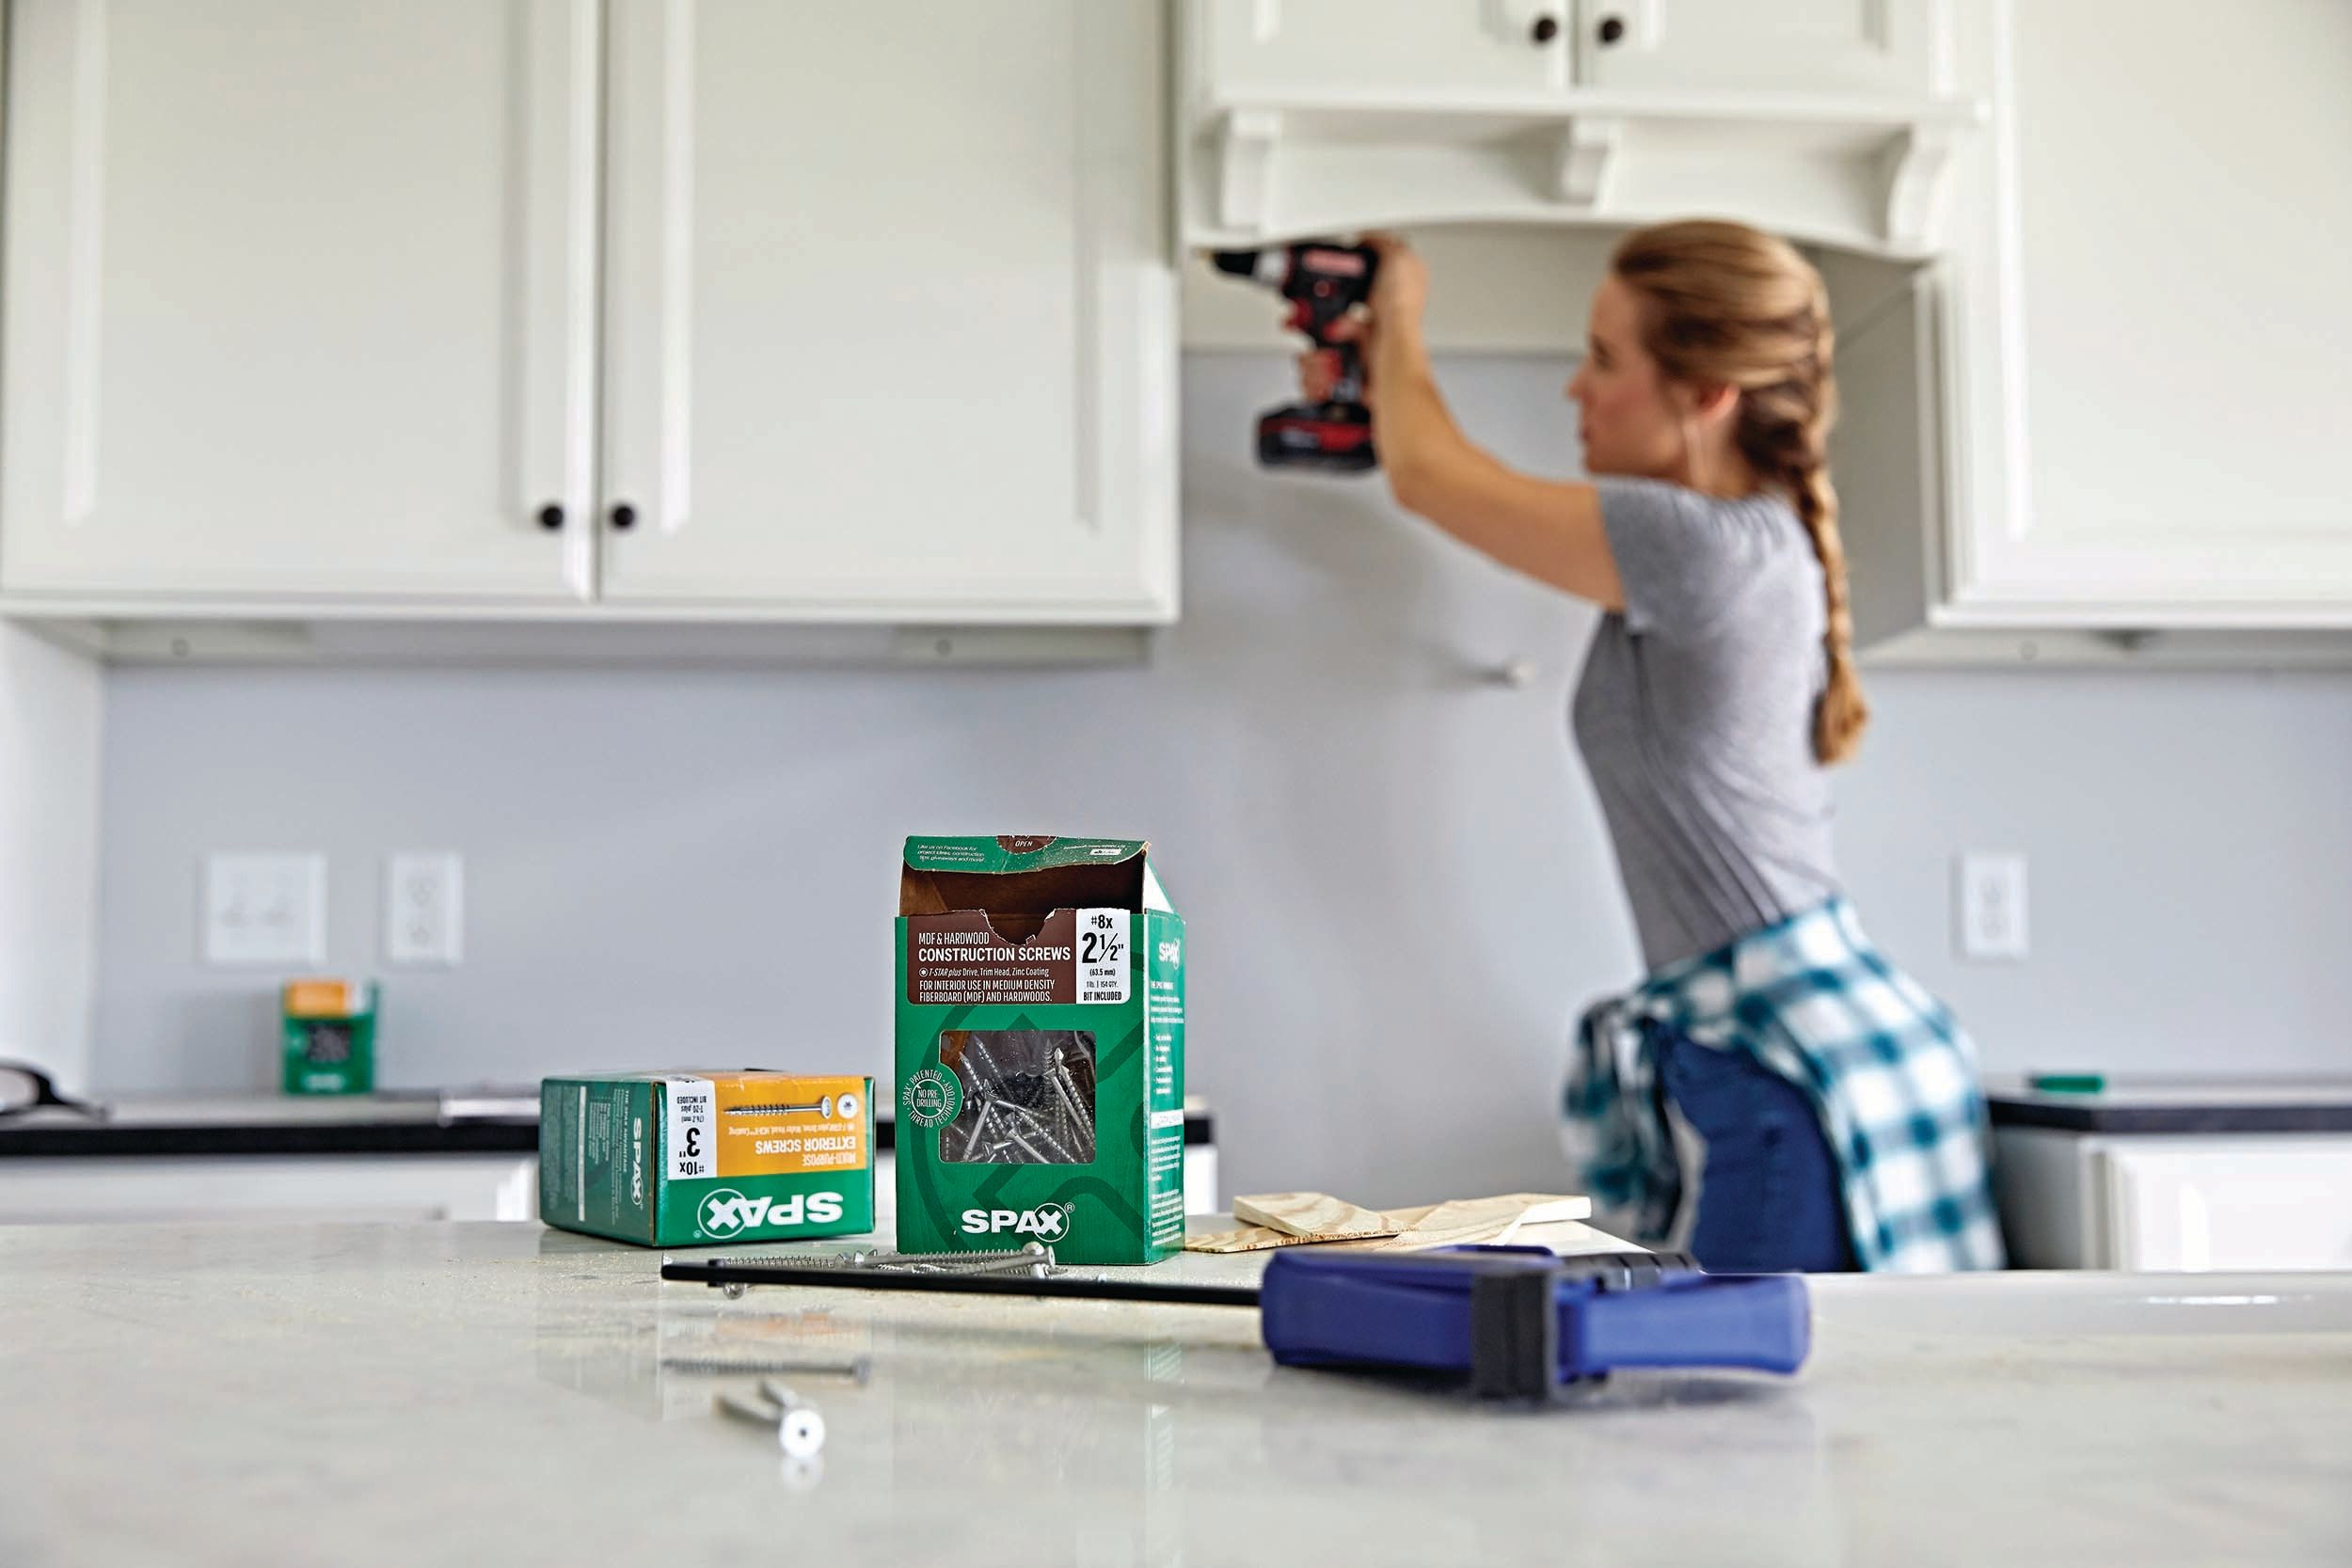
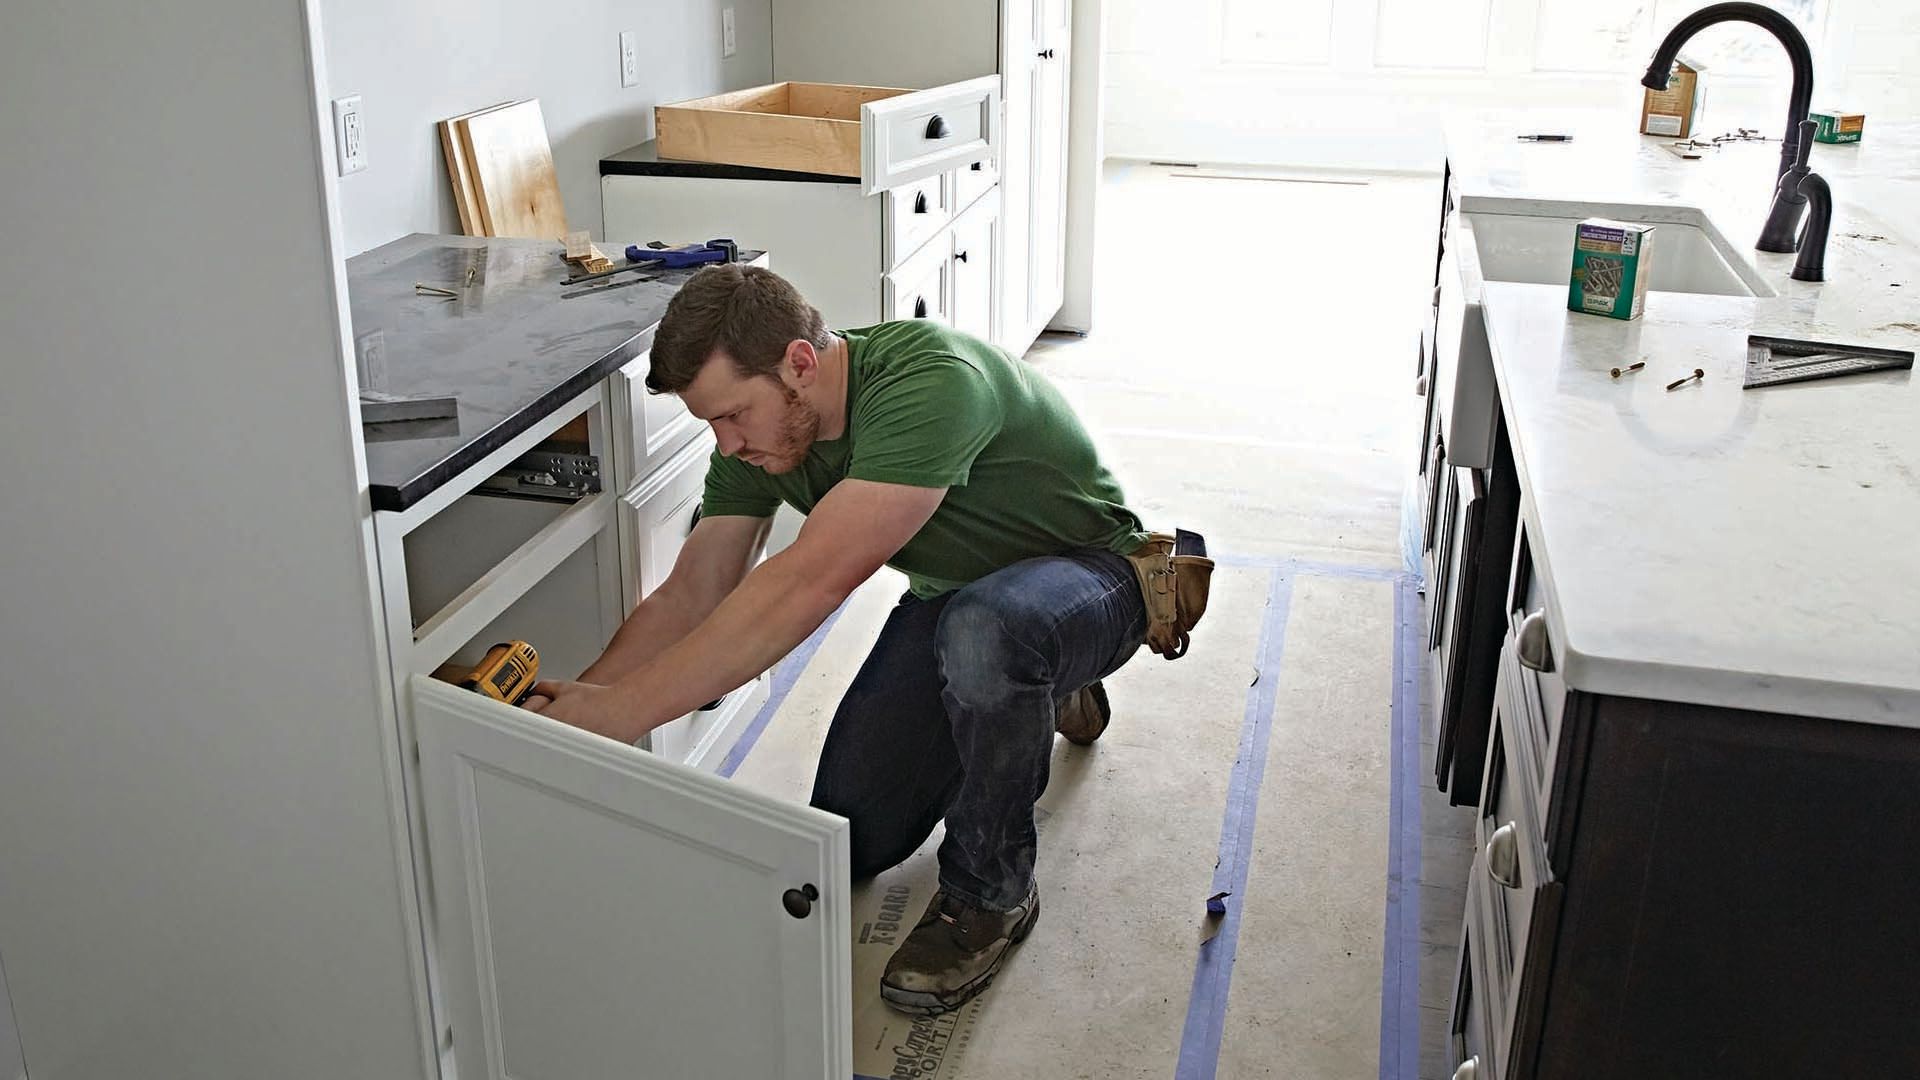
Cabinets are a very expensive and visible part of kitchens and baths so care must be taken to provide a structurally sound assembly and assurance they are properly attached to wall studs.
Whether your planning to install your cabinets yourself or hiring a professional, preparation is the key to success.
SPAX® has all the necessary construction screws and trim screws for both these areas of detail.
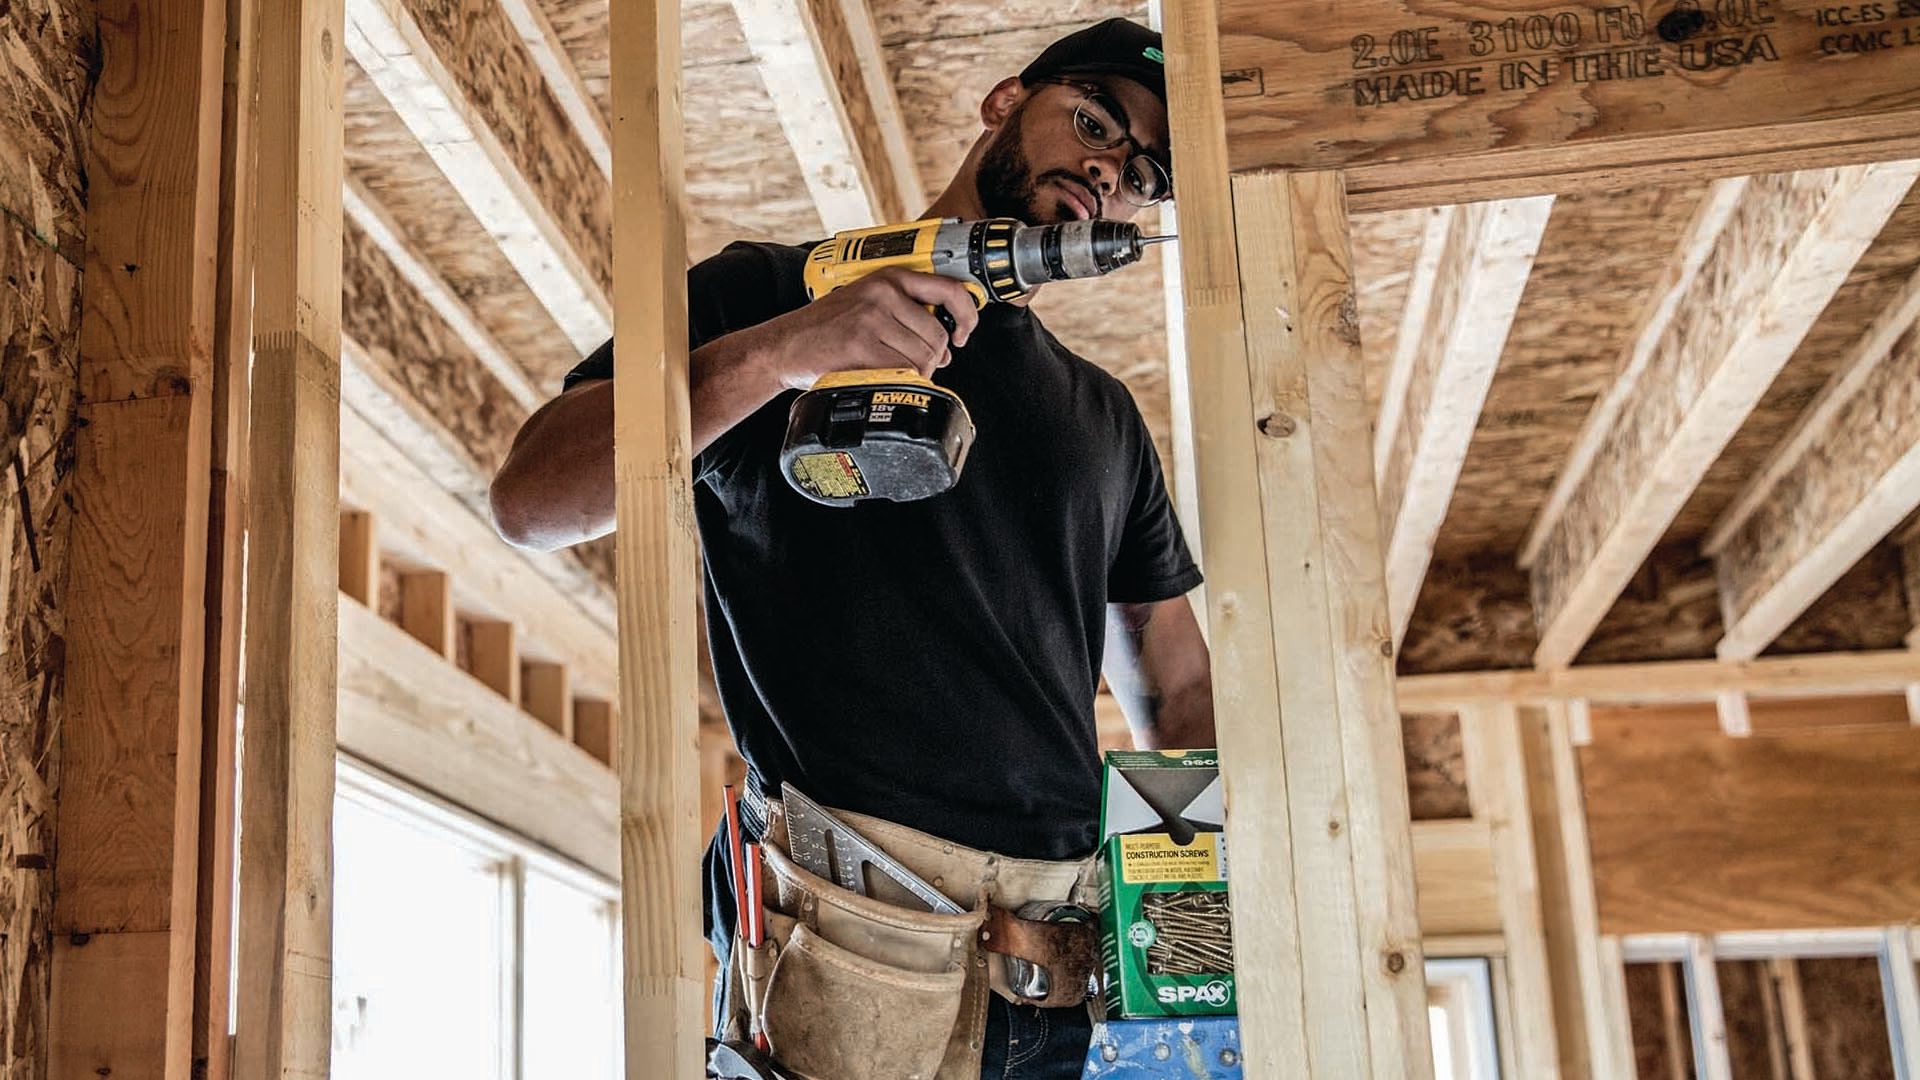
RE-FRAMING YOUR HOME'S INTERIOR
Often times interior walls will be torn down or need to be rebuilt plus open spaces are trending in popularity so structural multi-ply beams need to be added. Regardless of the framing required in these rooms, SPAX® has the necessary structural fasteners that save time and money on the job with patented thread designs for ease of installation plus they are IRC / IBC Code compliant and a perfect substitute for nails in many of these connections.
CABINET INSTALLATION TIPS FROM THE SPAX CREW
Cabinets are a very expensive and visible part of kitchens and baths so care must be taken to provide a structurally sound assembly and assurance they are properly attached to wall studs. Whether your planning to install your cabinets yourself or hiring a professional, preparation is the key to success. SPAX® has all the necessary construction screws and trim screws for both these areas of detail.

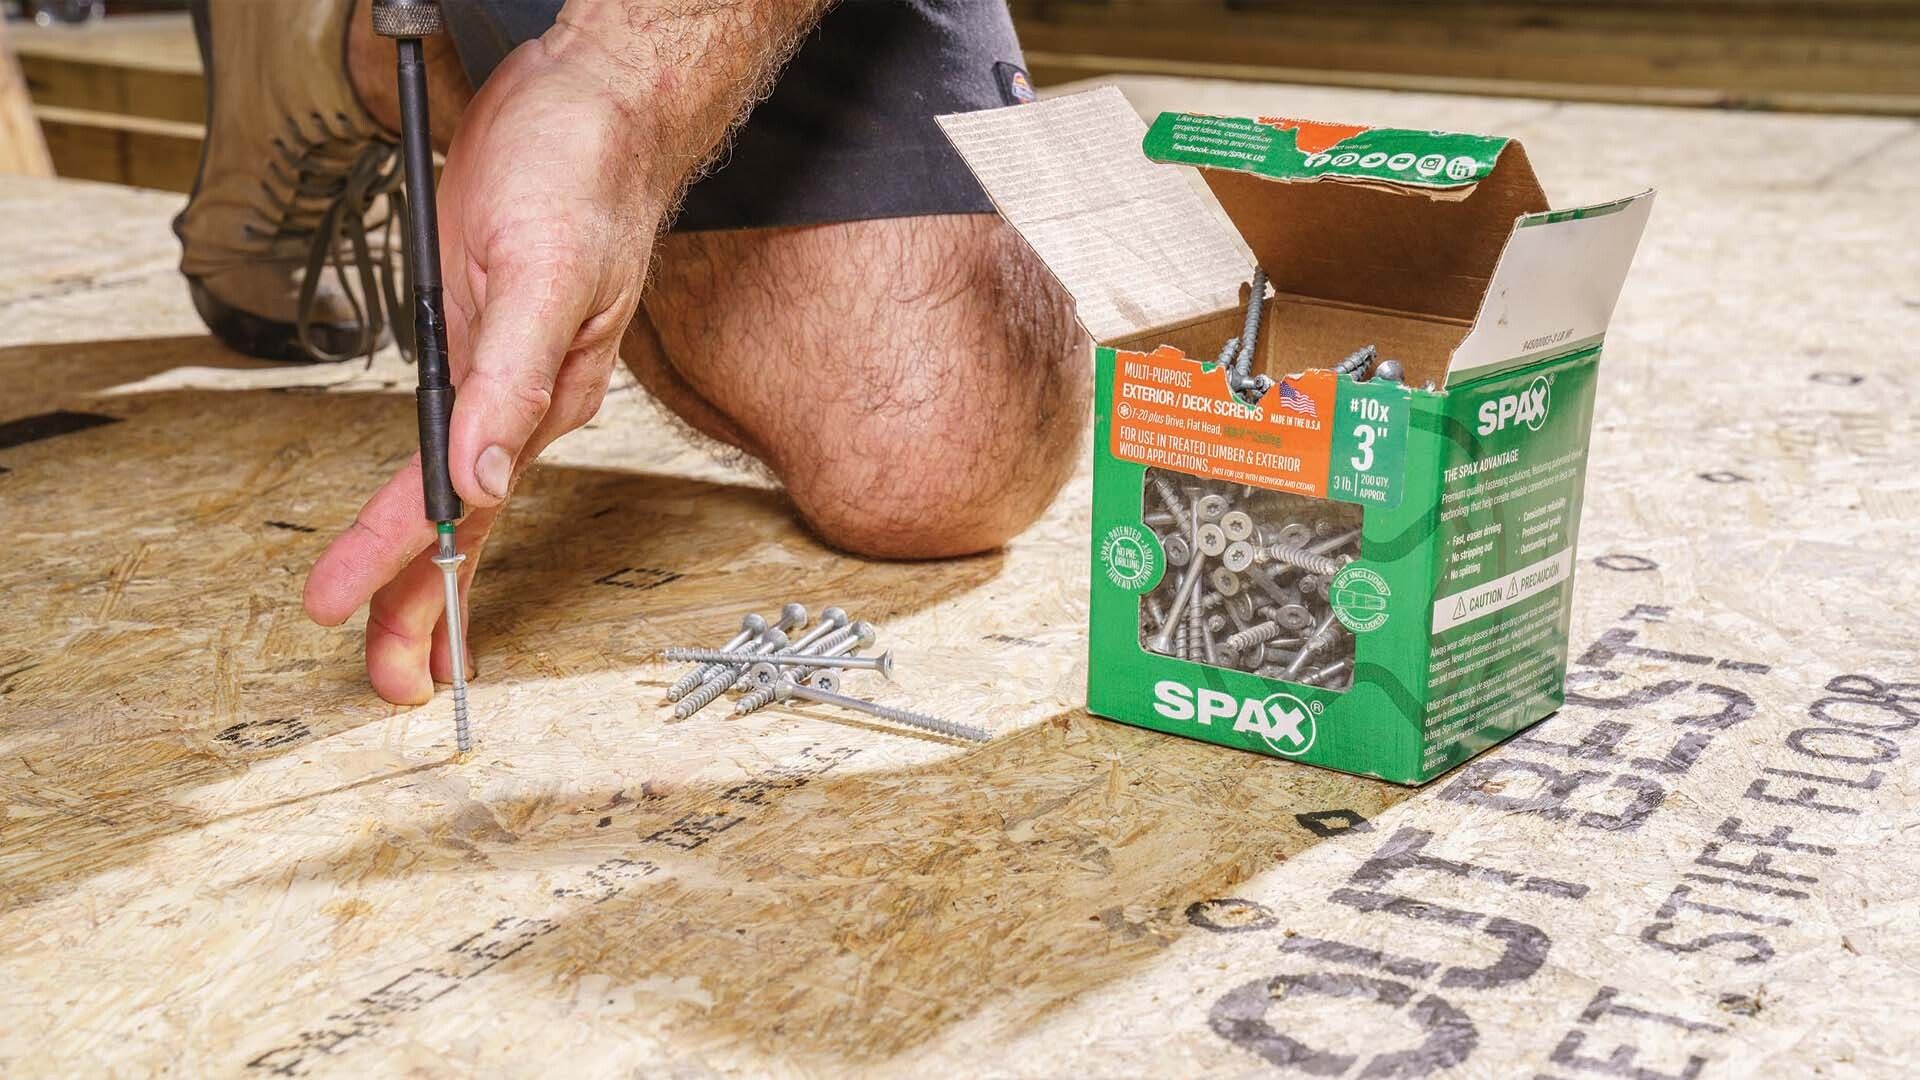
Construction Screws for Cabinet Frame Assembly
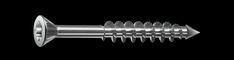
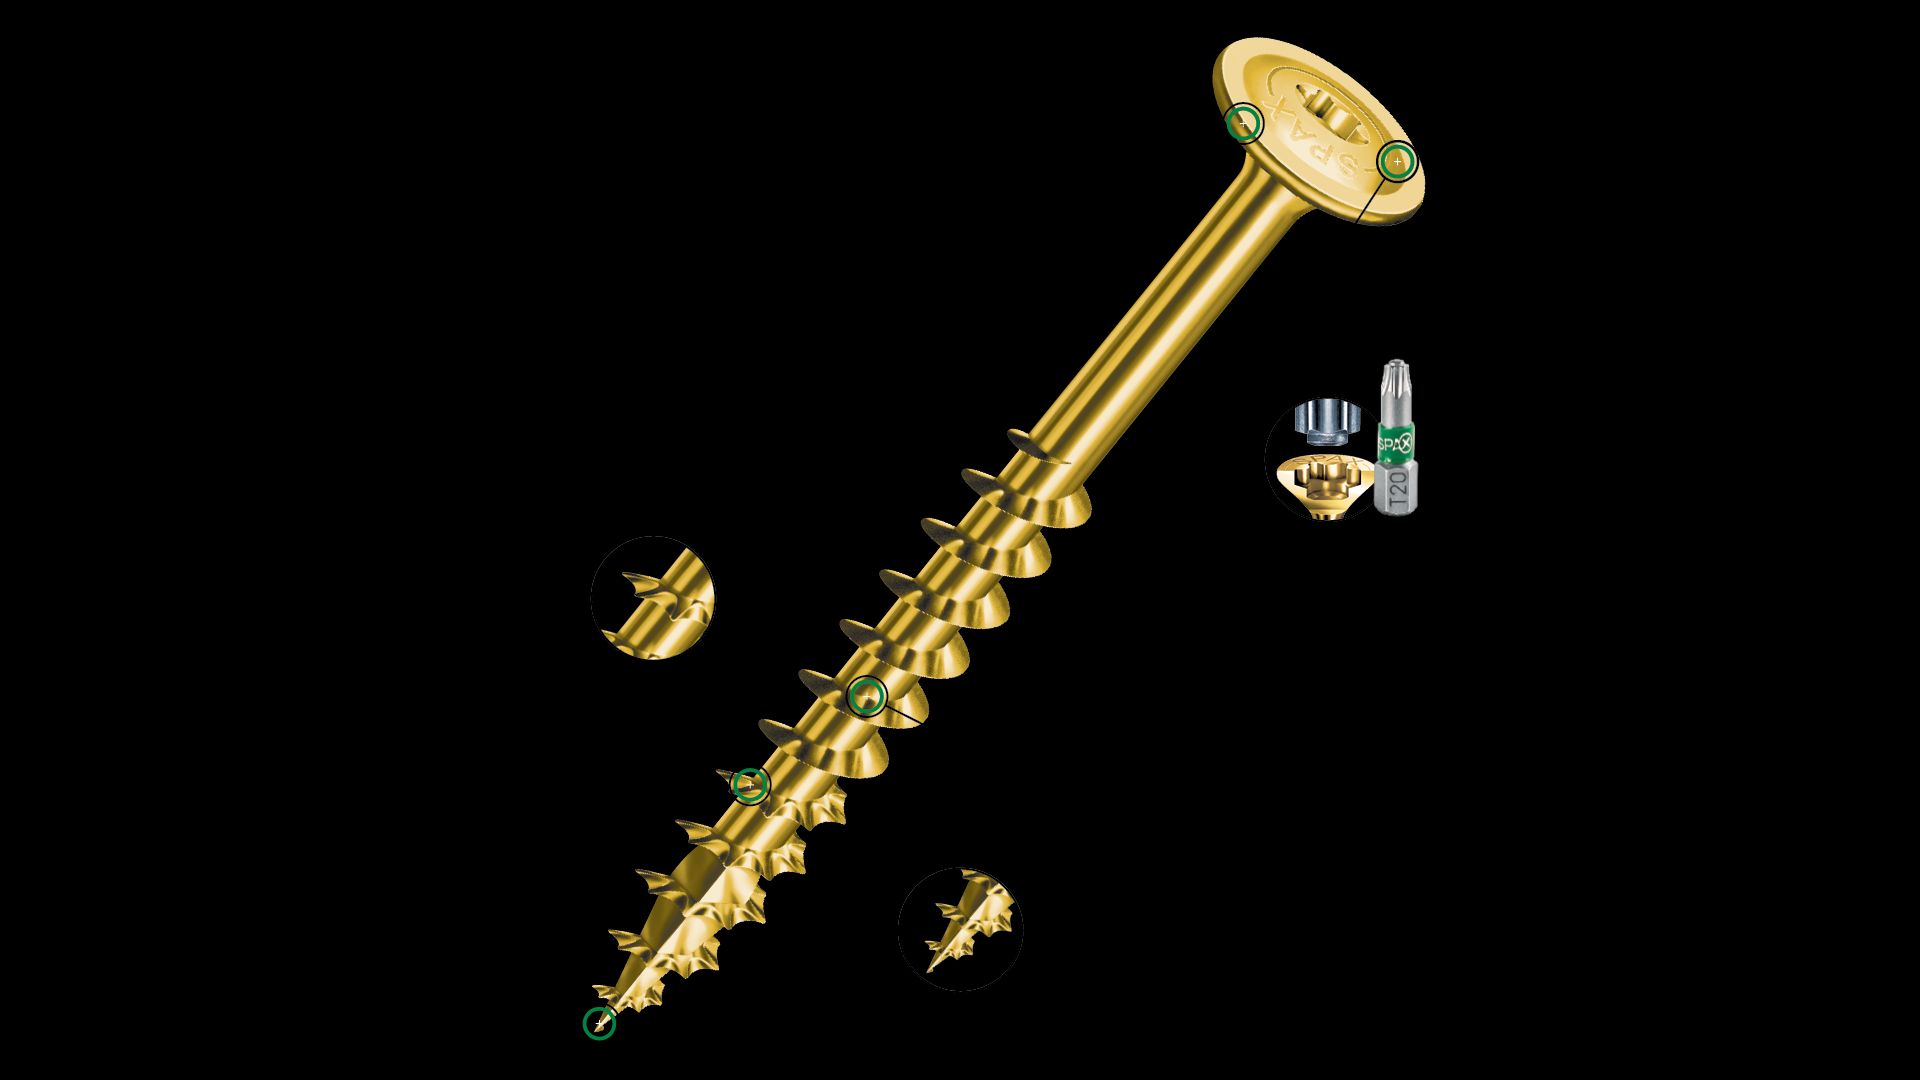
SPAX® offers a wide range of flat head countersinking construction screws for use in attaching interior cabinet wood framing connections. Ranging in diameters from #6, #8, #10 and #14 and lengths from 1/2” to 4-3/4”.

Face Frame and Styles Attachment
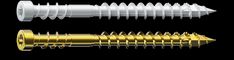
SPAX® recommends using a #8 x 2-1/2” MDF/Hardwood fastener for styles attachment. This product provides a unique combination of patented thread technology with a drill point type design feature which allows for this product to be a more effective solution in small, thin hardwood trims in order to prevent splitting and damage during connection assembly. For more information on MDF/Hardwood Screws click below:
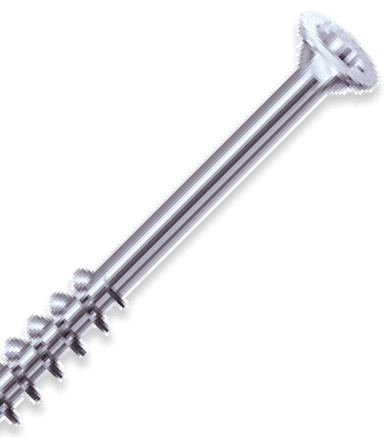
Cabinet Screws for Wall Attachment
Per the installation guidelines listed above SPAX® offers a cabinet screw that is a wafer head for superior holding power to attach cabinets through the wall structure into wood wall studs. SPAX cabinet screws are IRC/IBC Code Compliant and range in sizes from #8 & #10 and lengths from 1-1/4” through 3”.
MULT-MATERIAL FASTENERS ARE THE PRO'S CHOICE
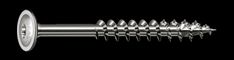
SPAX® Multi-Material Engineered Construction Fasteners are the versatile fastening solution for installing new kitchen and bathroom cabinets.
Choose from the variety of head styles, including the wafer head for attaching and hanging cabinet boxes.
Attaching a squeak-free subfloor
SPAX® countersinking head constructions screws are a perfect substitution for ring shank nails and adhesives to hold down subflooring in order to provide a secure attachment that doesn’t squeak for the homeowner down the road. Yellow zinc coated fasteners for dry application and HCR-X™ for exterior/wet service applications.
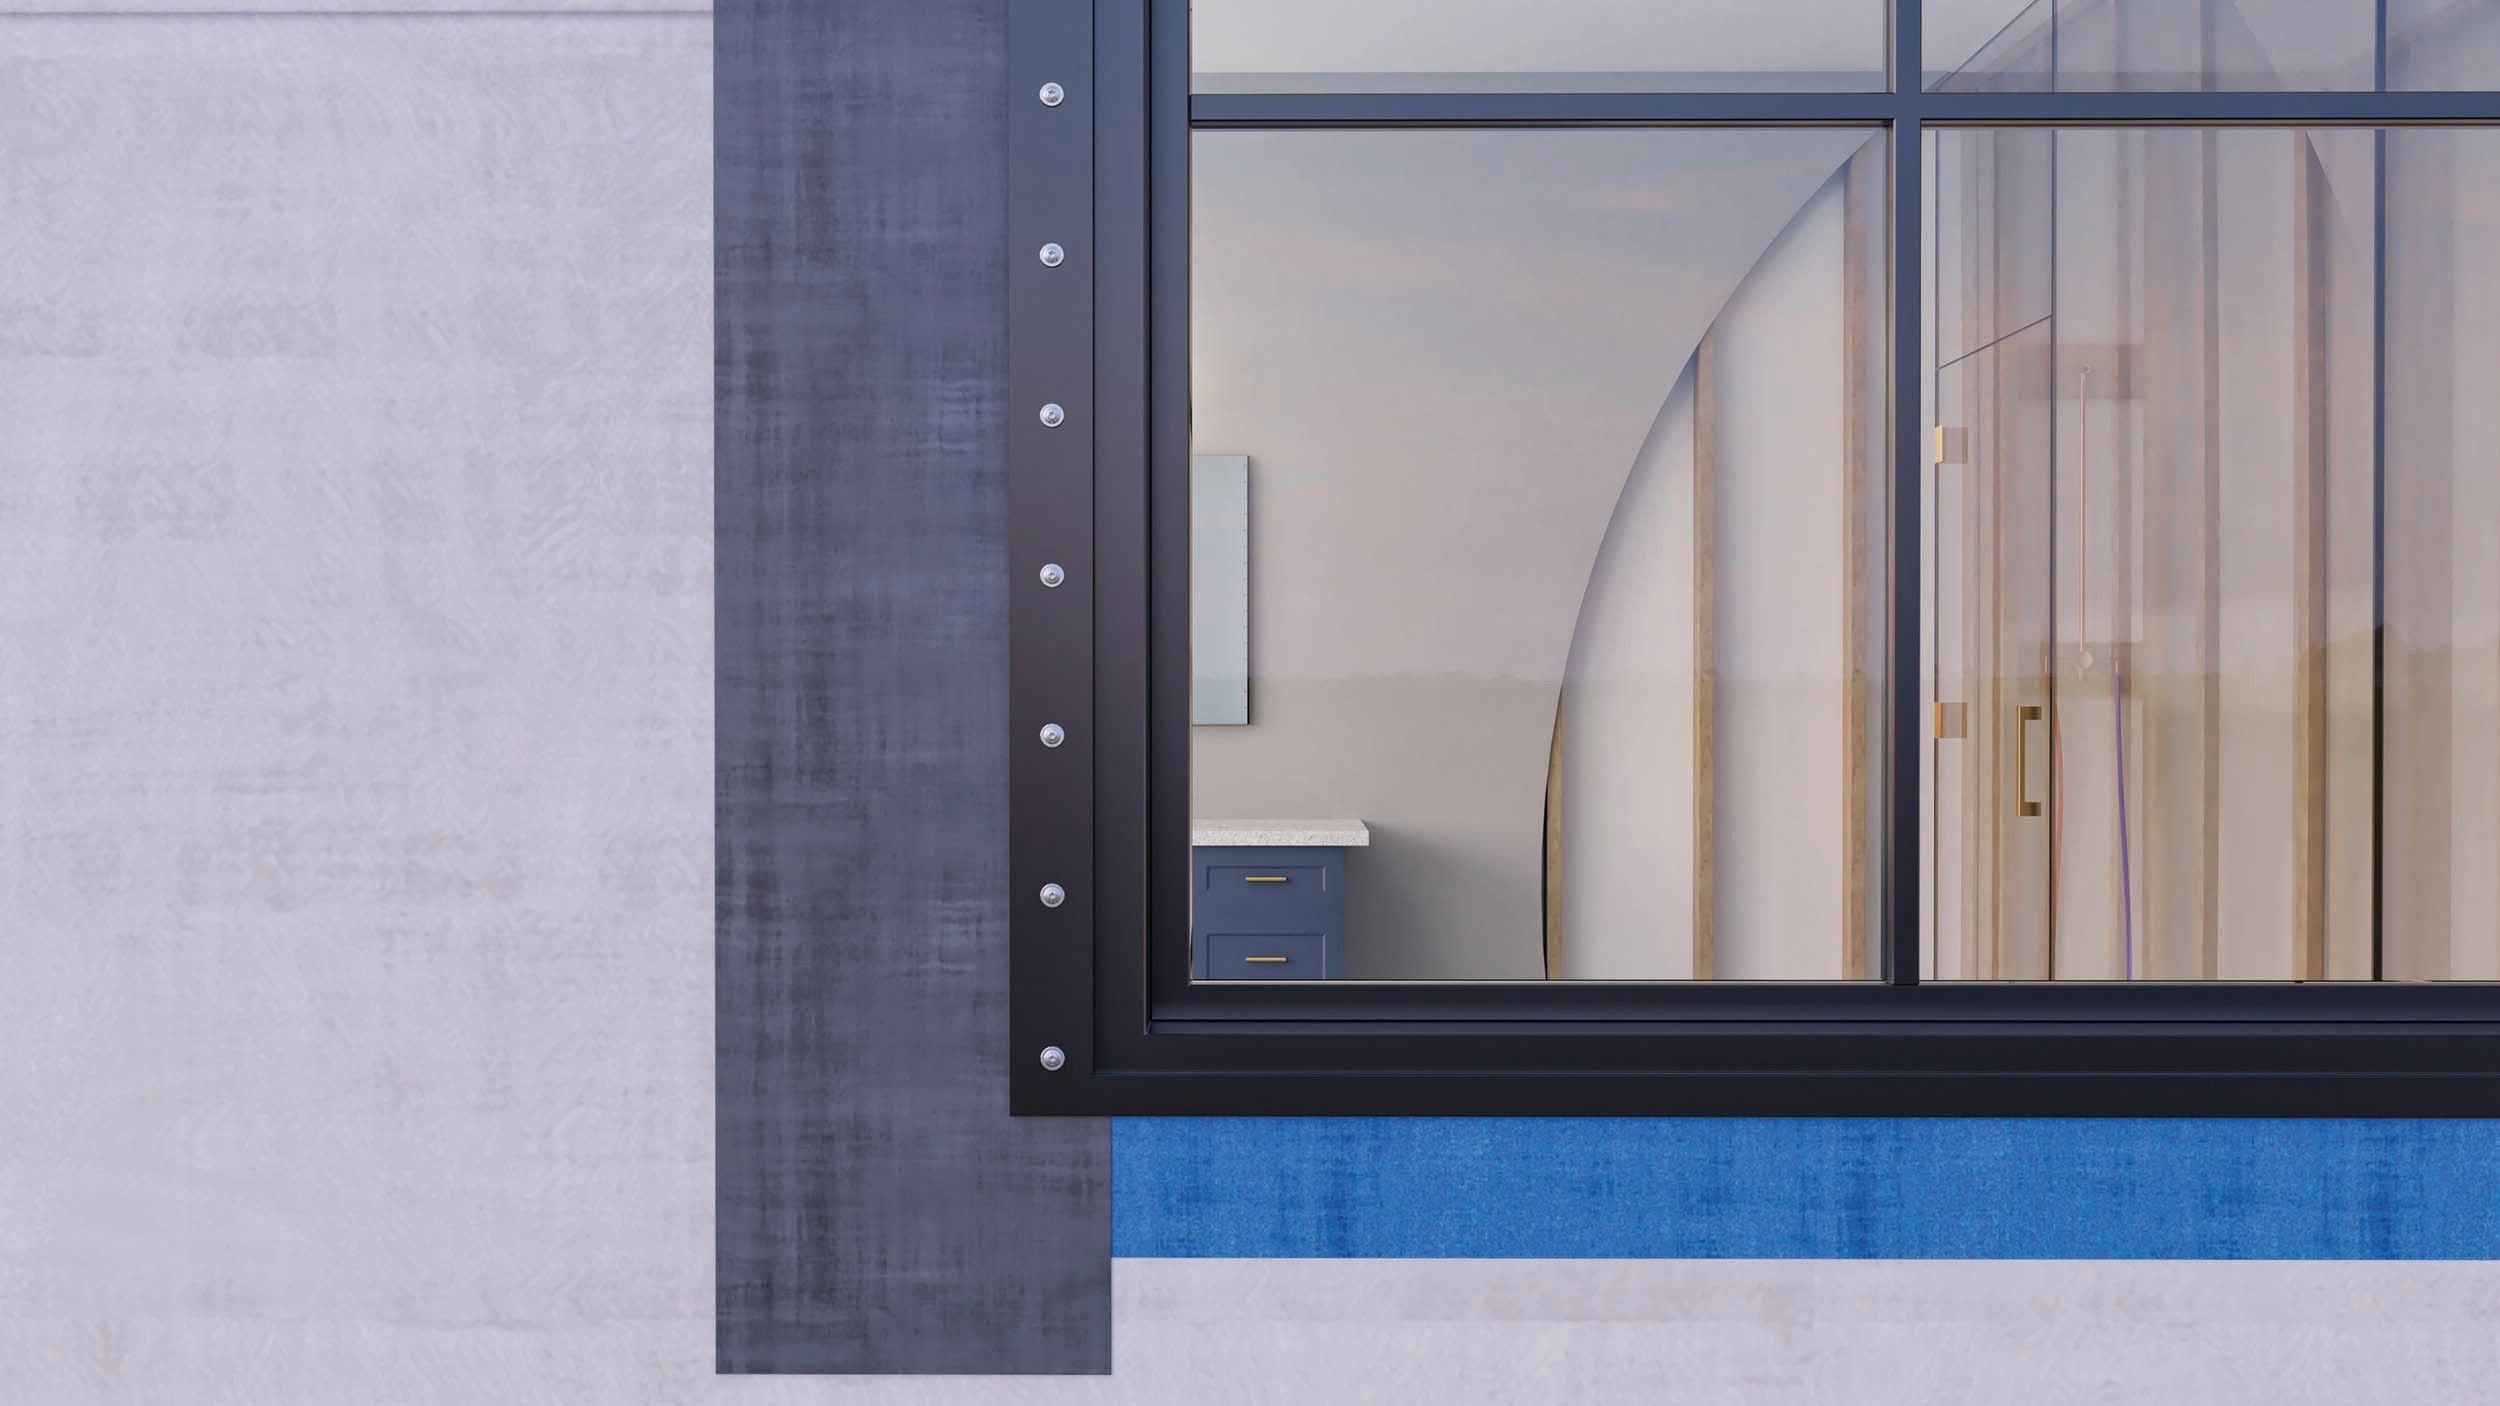
Secure Attachment of Windows
Gather the necessary tools and materials
You'll need a tape measure, level, hammer, screwdriver, drill, saw, pry bar, caulk gun, flashing tape, shims, screws, and the window unit itself. Ensure you have the appropriate size and type of window for your opening.
Measure and prepare the opening
Determine the size of the window based on the manufacturer's specifications. Mark the dimensions on the wall, making sure it's level and plumb. Remove any siding or interior finishes around the opening, taking care not to damage the surrounding structure.
Install the sill pan/flashing
Install a sill pan or flashing tape at the bottom of the rough opening. This helps prevent water infiltration. Follow the manufacturer's instructions for the specific product you're using.
Insert the window
Place the window unit into the rough opening from the exterior side. Ensure it is centered, level, and plumb. Use shims to adjust the position and make sure the window is square. Check for proper operation of the sashes and ensure they open and close smoothly.
Secure the window
Once the window is properly positioned, secure it to the frame by installing fasteners through the window flange. Follow the manufacturer's recommendations for screw sizing and placement.
Insulate and seal
Apply insulation material around the window frame to improve energy efficiency and minimize drafts. Use expanding foam or insulation strips, depending on the specific window and your insulation needs. Then, apply caulk around the exterior perimeter of the window to seal any gaps and prevent water infiltration.
Finishing touches
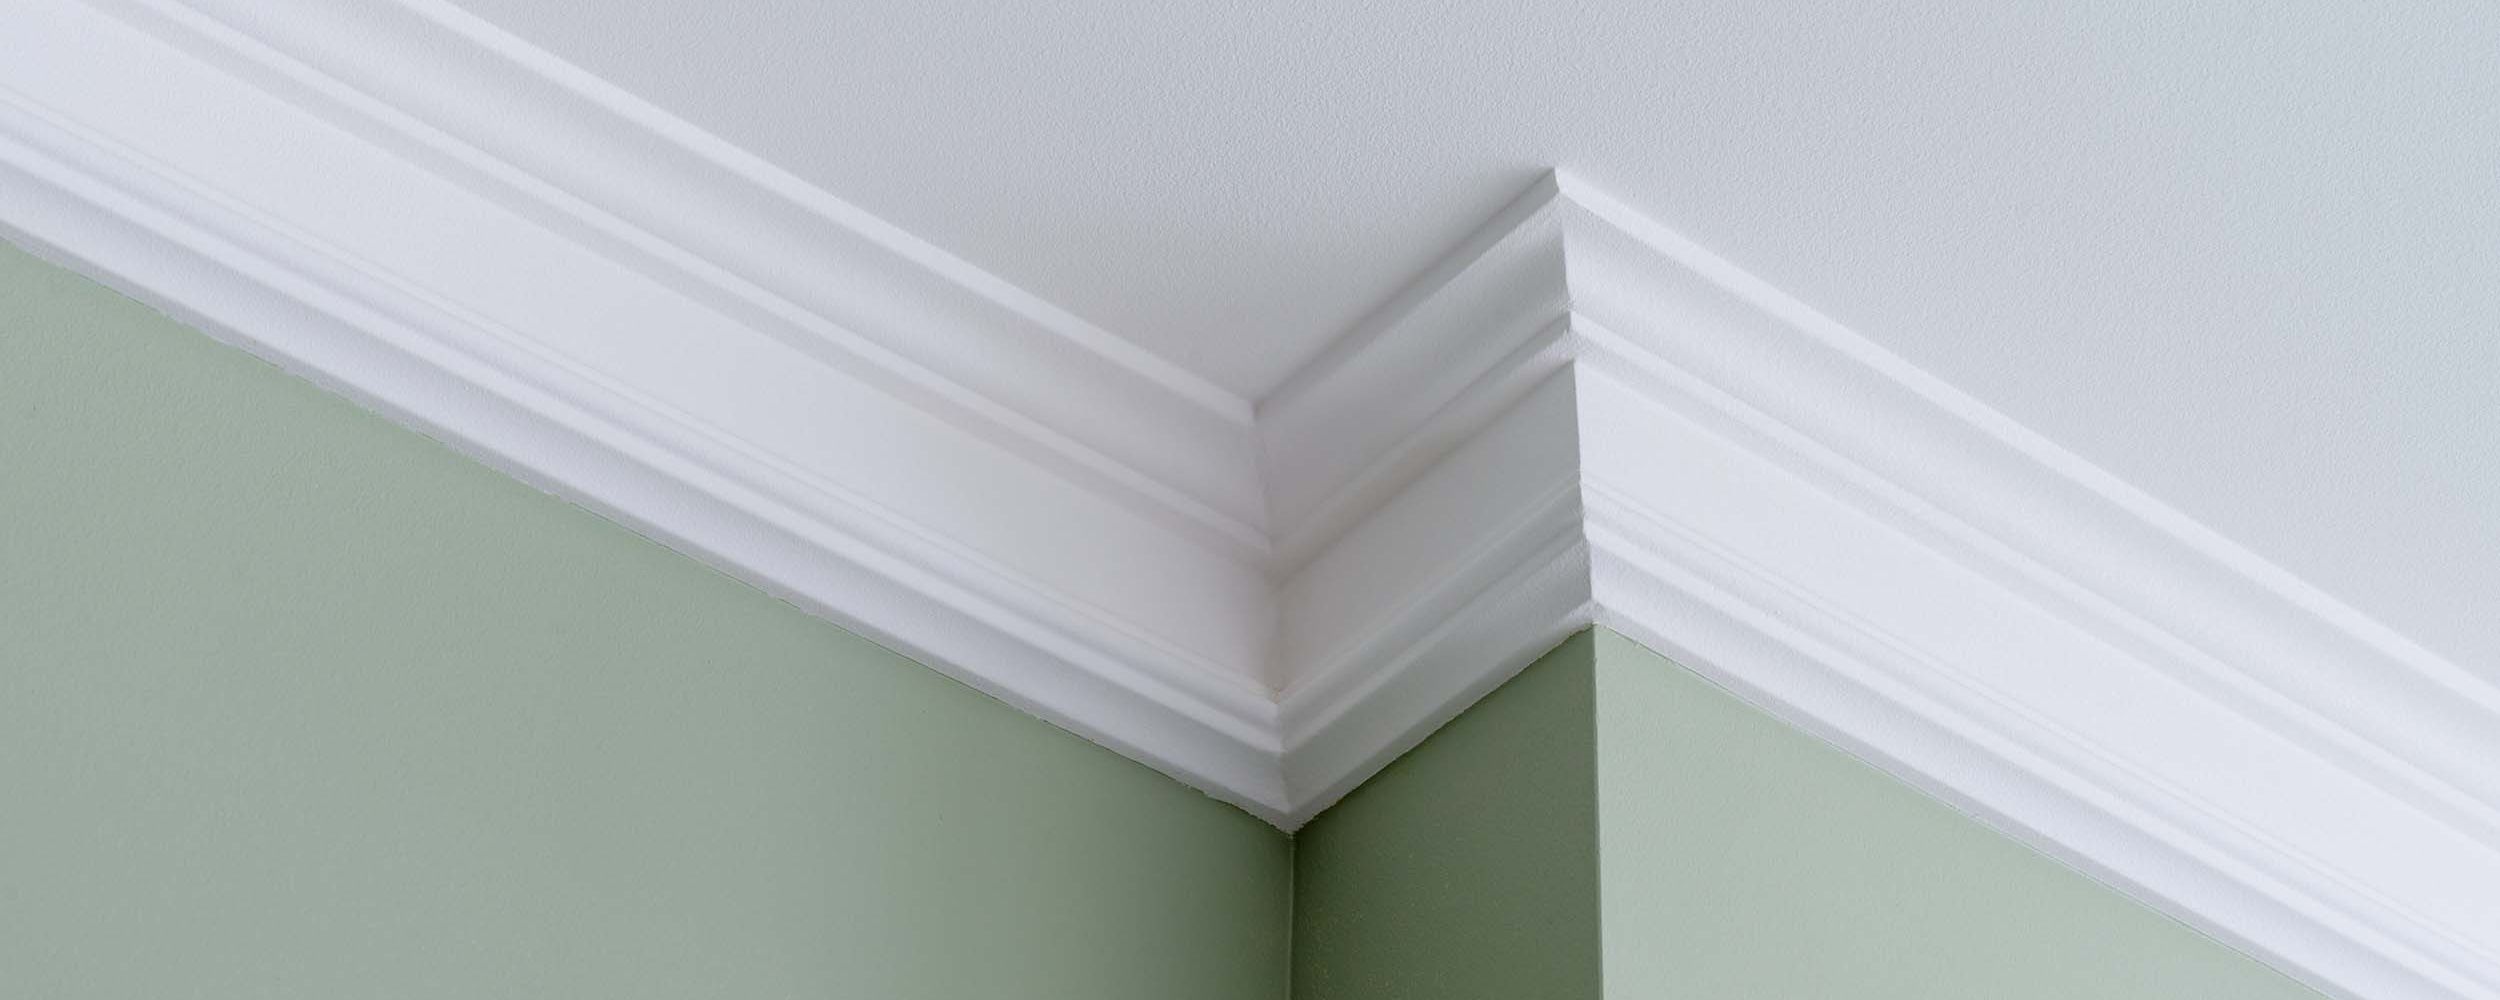
Replace any interior finishes or trims, such as drywall or trim molding, to complete the installation. Attach trim using specialty trim screws for a clean flush look. Ensure everything is properly aligned and secure.
It's important to note that this is a general outline, and the specific steps may vary based on the type of window, your local building codes, and other factors. It's recommended to consult the manufacturer's instructions and local building authorities for specific guidelines and requirements for your area. Additionally, if you're not experienced with window installation, it may be wise to hire a professional contractor to ensure the job is done correctly and safely.
FINISH THE JOB WITH SPAX®
Attaching wood, PVC and expensive hardwood finishing trim pieces can provide many challenges for contractors. Fortunately, SPAX® has a perfect solution to replace finishing nails that are much easier to install and they are easier to replace or remove without damaging the finishing trim pieces.