Frame your home with SPAX® fasteners
Every connection matters when you're building a home's foundation – from the framing to the trim. SPAX® has your back at every turn.
Regardless of the type of construction, make sure to check with local building codes for regulations pertaining to construction and framing, as well as to obtain any needed permits.
Master Your Projects with Confidence
Framing Screws & Fasteners
When it comes to framing a home, every detail matters, especially the choice of fasteners. SPAX fasteners offer a reliable solution for framing projects, providing superior strength, precision, and efficiency. With their innovative design and high-quality materials, SPAX fasteners ensure secure connections, streamline installation processes, and ultimately contribute to the structural integrity and longevity of the home. Whether constructing walls, floors, or roofs, SPAX fasteners empower builders to tackle framing tasks with confidence, making them an indispensable asset in the construction of a sturdy and resilient home.
We've Got You Covered
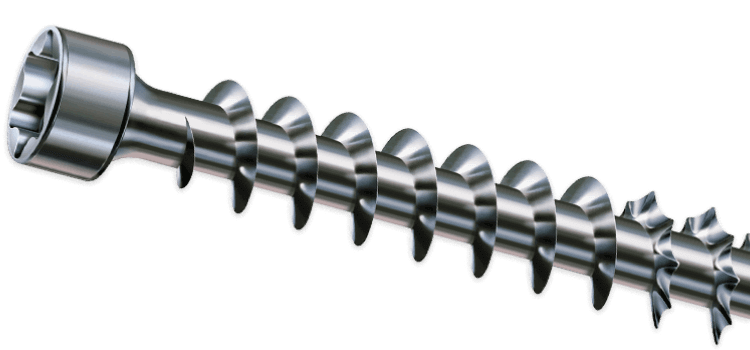
Find the right screw or fastener for your next job with the largest variety of diameters, lengths and head styles in the industry.
Related Products


Things to Consider While Framing
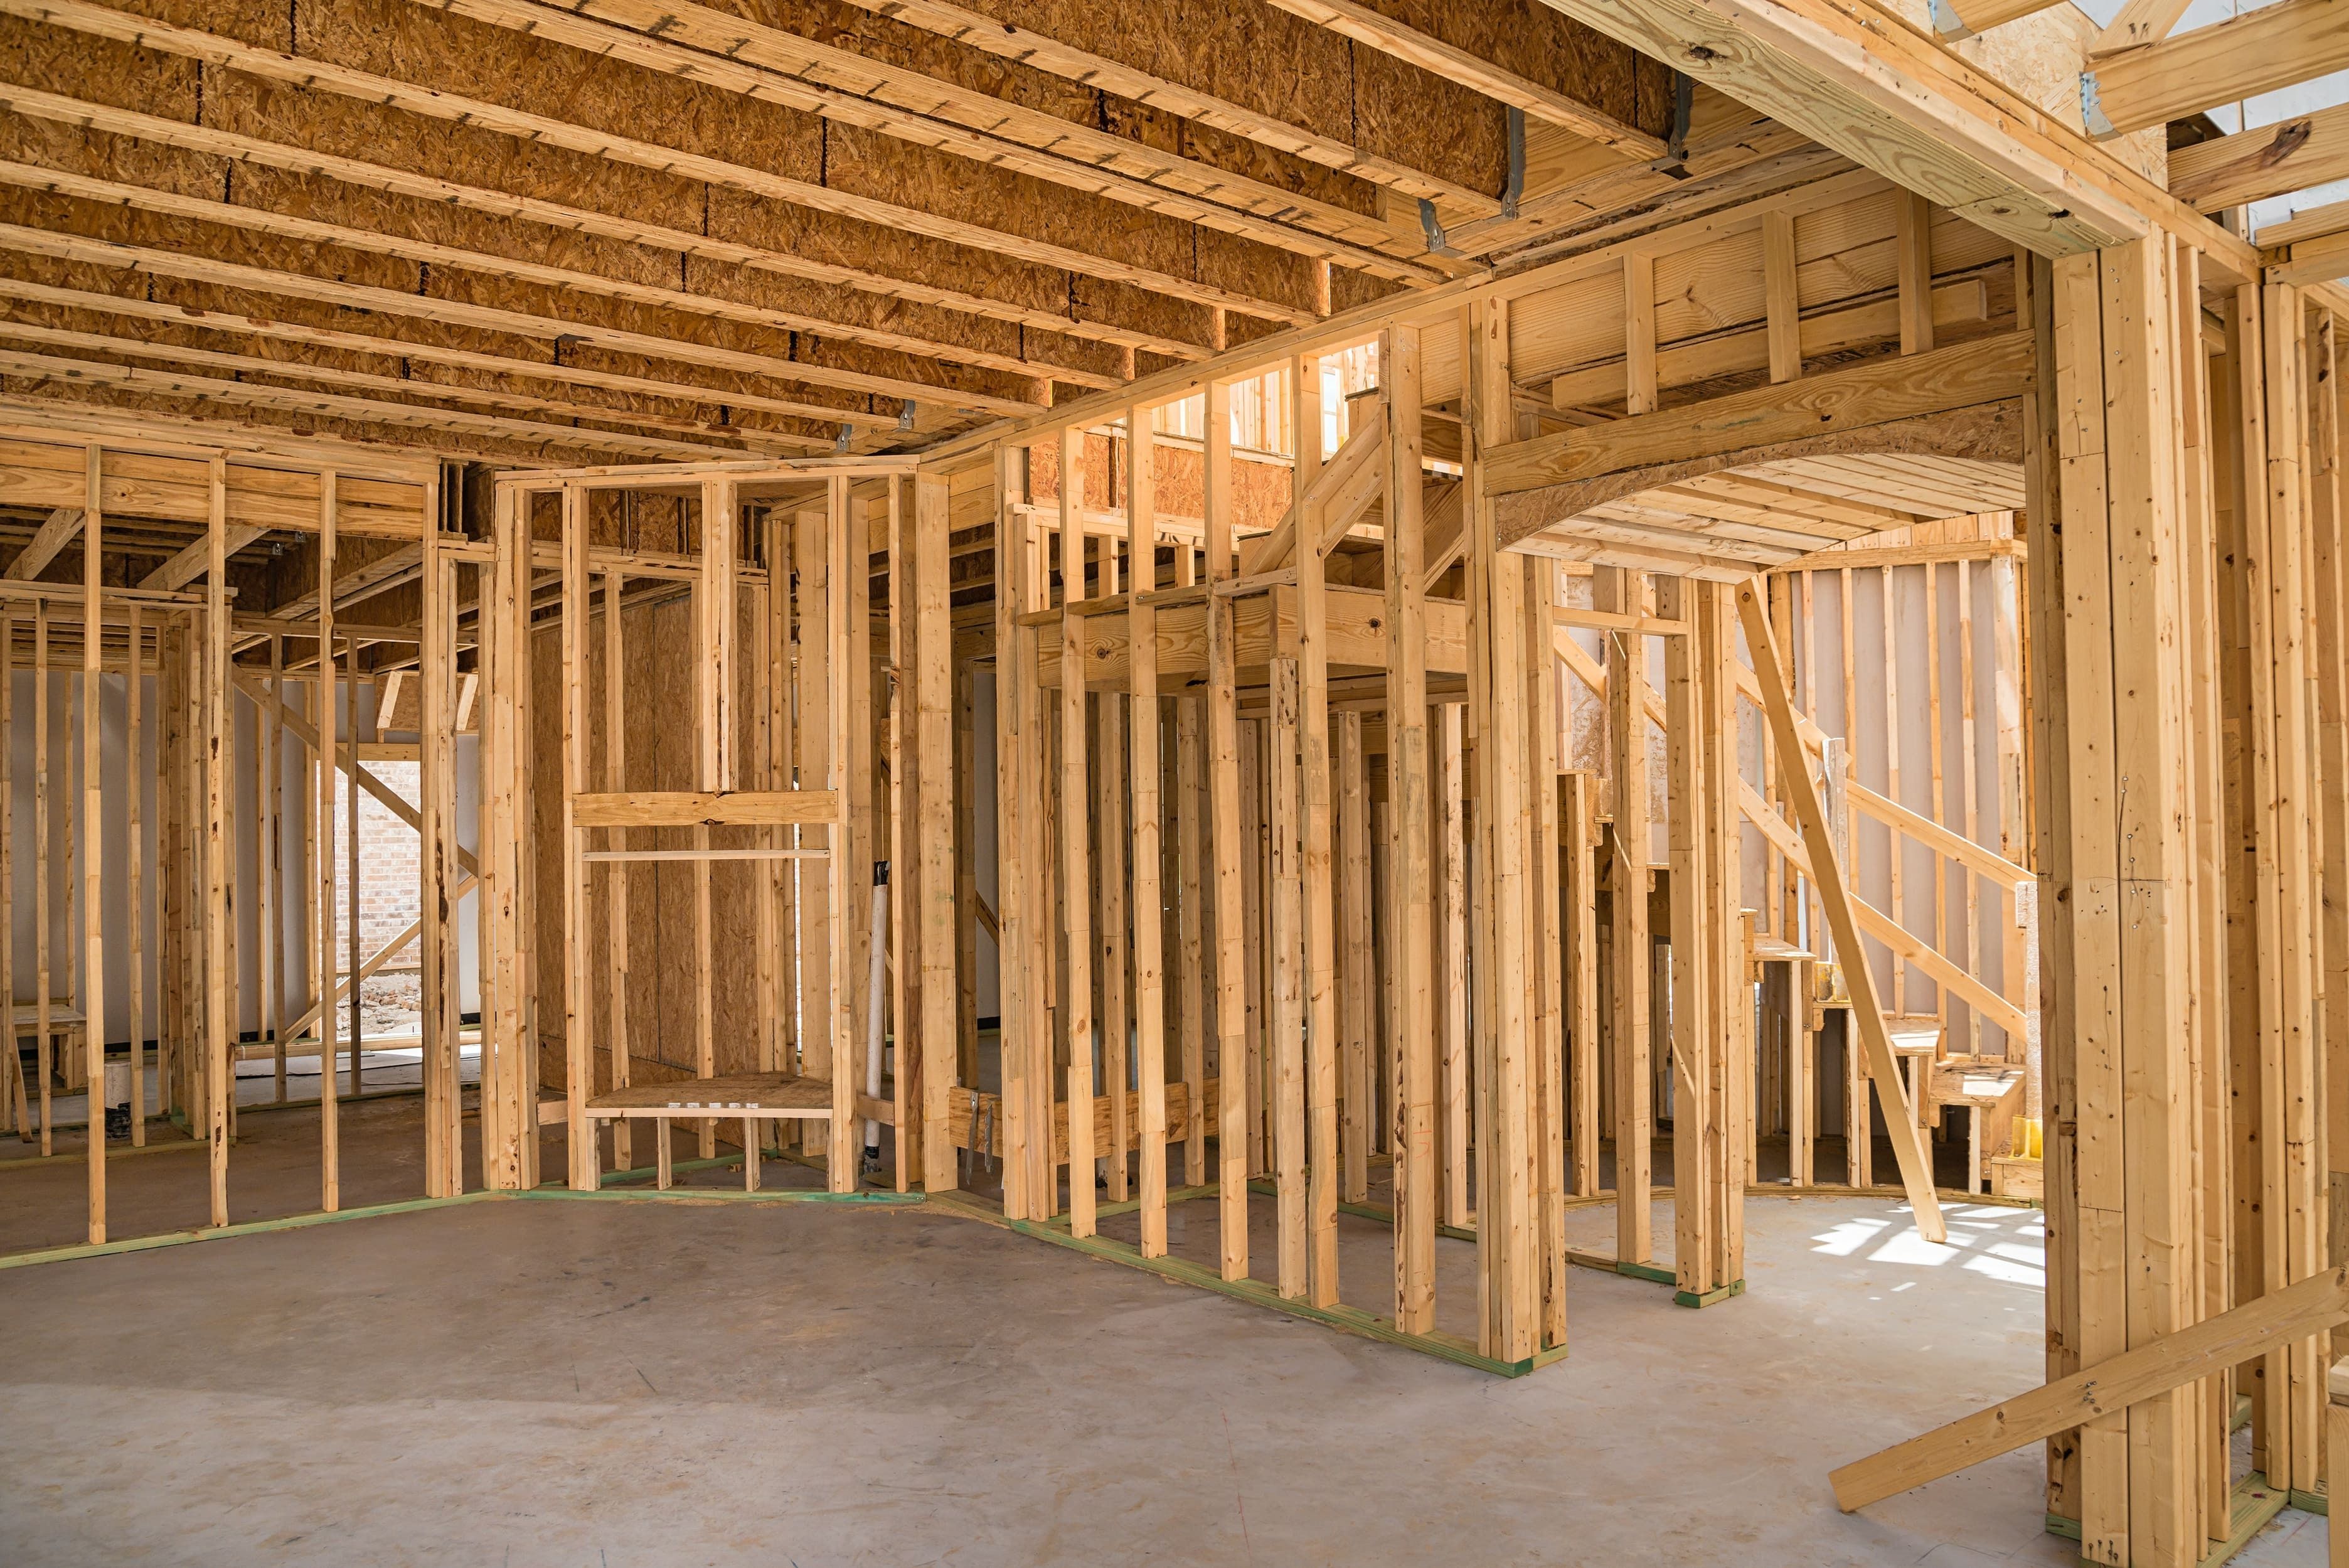
Framing is one of the most critical stages in home construction. It lays the foundation for the entire structure, providing stability, strength, and support. As a carpenter, mastering the art of framing is essential to ensure a structurally sound and well-built home. In this blog post, we will guide you through the process of framing a home, covering the key steps and considerations involved.
Understand the Blueprint
Before starting any framing project, carefully review the architectural blueprints and understand the layout, dimensions, and specifications of the home. This will help you plan and visualize the framing process effectively.
Gather the Right Tools and Materials
Ensure you have all the necessary tools and materials before you begin framing. Some essential tools include a circular saw, framing hammer, speed square, tape measure, level, framing nail gun, impact driver, and safety equipment such as goggles and gloves. Additionally, you'll need lumber, engineered screws, nails, metal connectors, and other framing supplies.
Prepare the Foundation
Start by ensuring the foundation is properly prepared, level, and in accordance with local building codes. Install anchor bolts or sill plates along the perimeter to secure the framing to the foundation. Remember to verify that the foundation walls are plumb and square.
Lay Out the Plates
Measure and mark the locations of walls and openings on the sill plates or top plates. Use a chalk line or laser level to ensure accurate layout. This step is crucial as it serves as a guide for positioning wall studs.
Install the Wall Studs
Determine how high you want your finished walls to be. Standard ceilings are 8 feet off the ground, but you can decide on higher ceilings if you like. Whatever you decide, make sure to subtract 4-1/2" from that height to determine the height of your wall studs. This allows for the bottom seal plate (1 ½") and the double top plate (3"). Cut the wall studs to the appropriate length. Put the top and bottom 2 x 4s together and mark them as to where you want your studs. Standard interior walls have studs on 16" centers. If you mark the top and bottom plates together, you’ll have straight studs and the framing can go quickly. Position the studs vertically, ensuring they are plumb and spaced according to the blueprint. Secure them to the plates with nails or framing connectors. Double check the measurements and alignments as you go. Use braces to give extra support and keep the walls plumb.
Frame Door and Window Openings
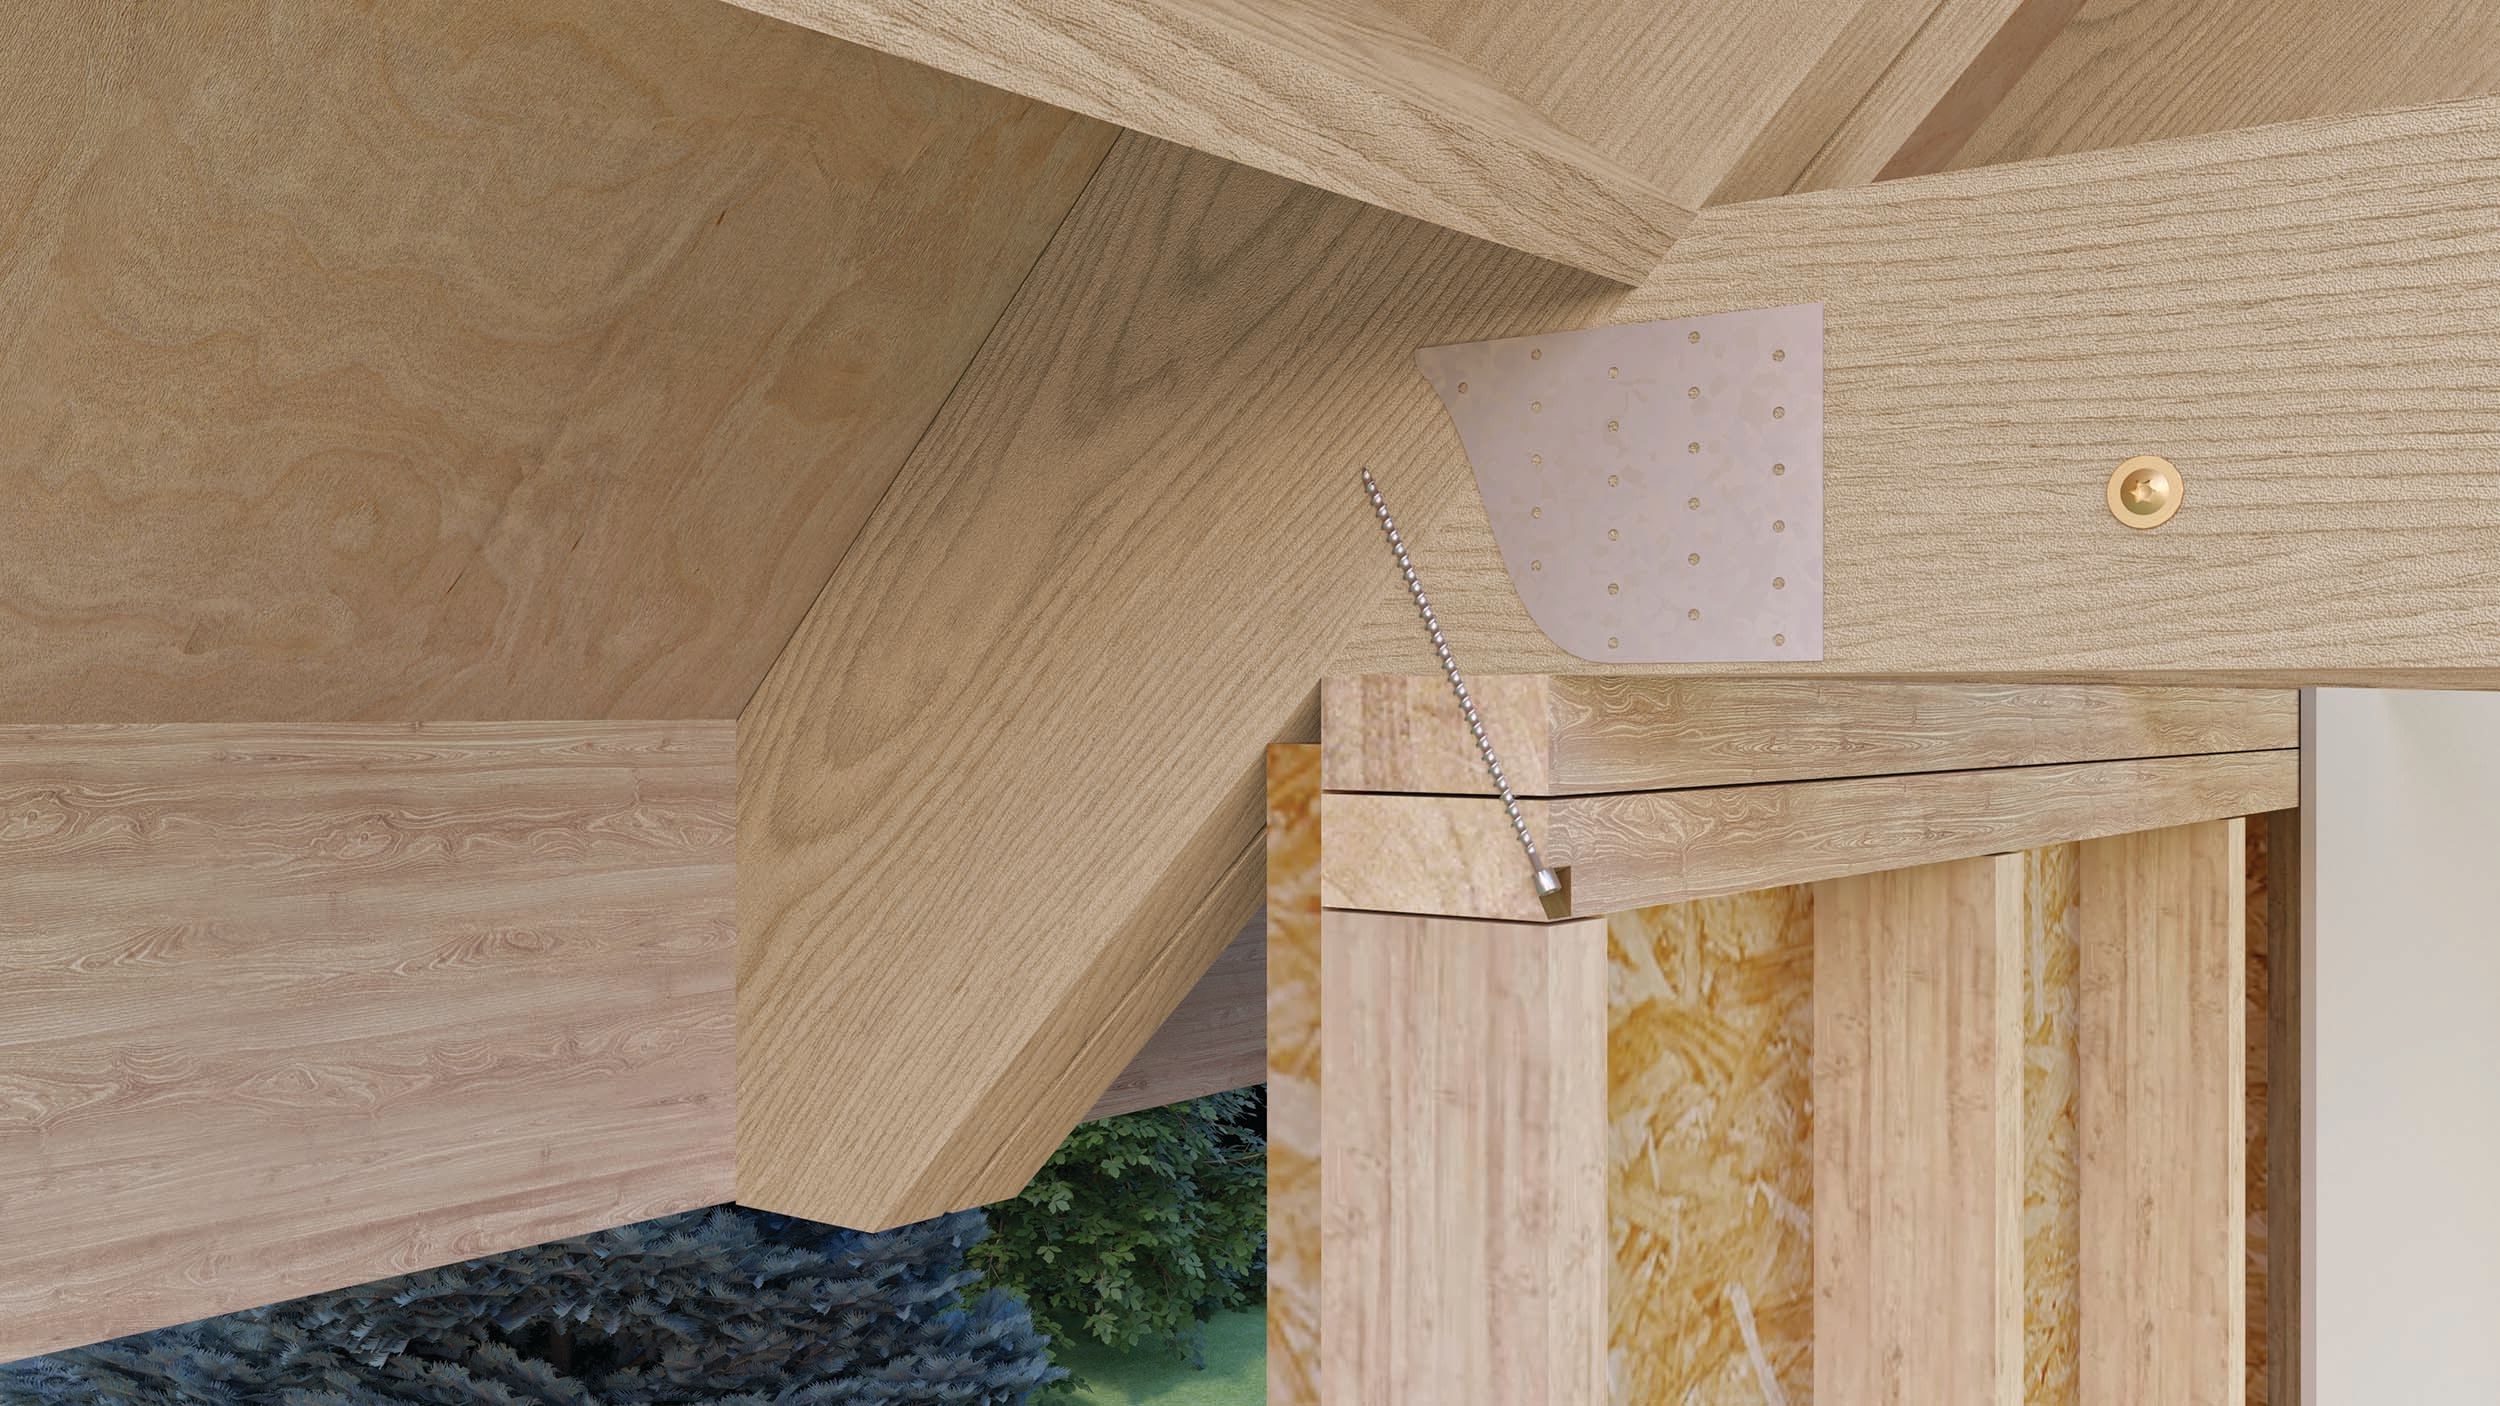
Follow the blueprint to frame door and window openings. Install headers above each opening to support the load above and transfer it to the adjacent studs. Use appropriate framing connectors and specialty fasteners, such as those offered by SPAX, to reinforce the corners and edges of the openings.
Construct Interior Walls
Frame the interior walls, taking into account any electrical or plumbing requirements. Ensure walls are plumb and square, and properly brace them for stability. Consider installing blocking between studs using SPAX fasteners to provide extra support for items like cabinets or wall-mounted fixtures.
Frame the Roof
Once the walls are complete, it's time to frame the roof. This includes installing rafters or trusses, sheathing, and roofing materials. Ensure proper alignment and spacing of the roof components to maintain structural integrity. Use specialty truss fasteners from SPAX to ensure robust connections between the truss and top wall plate.
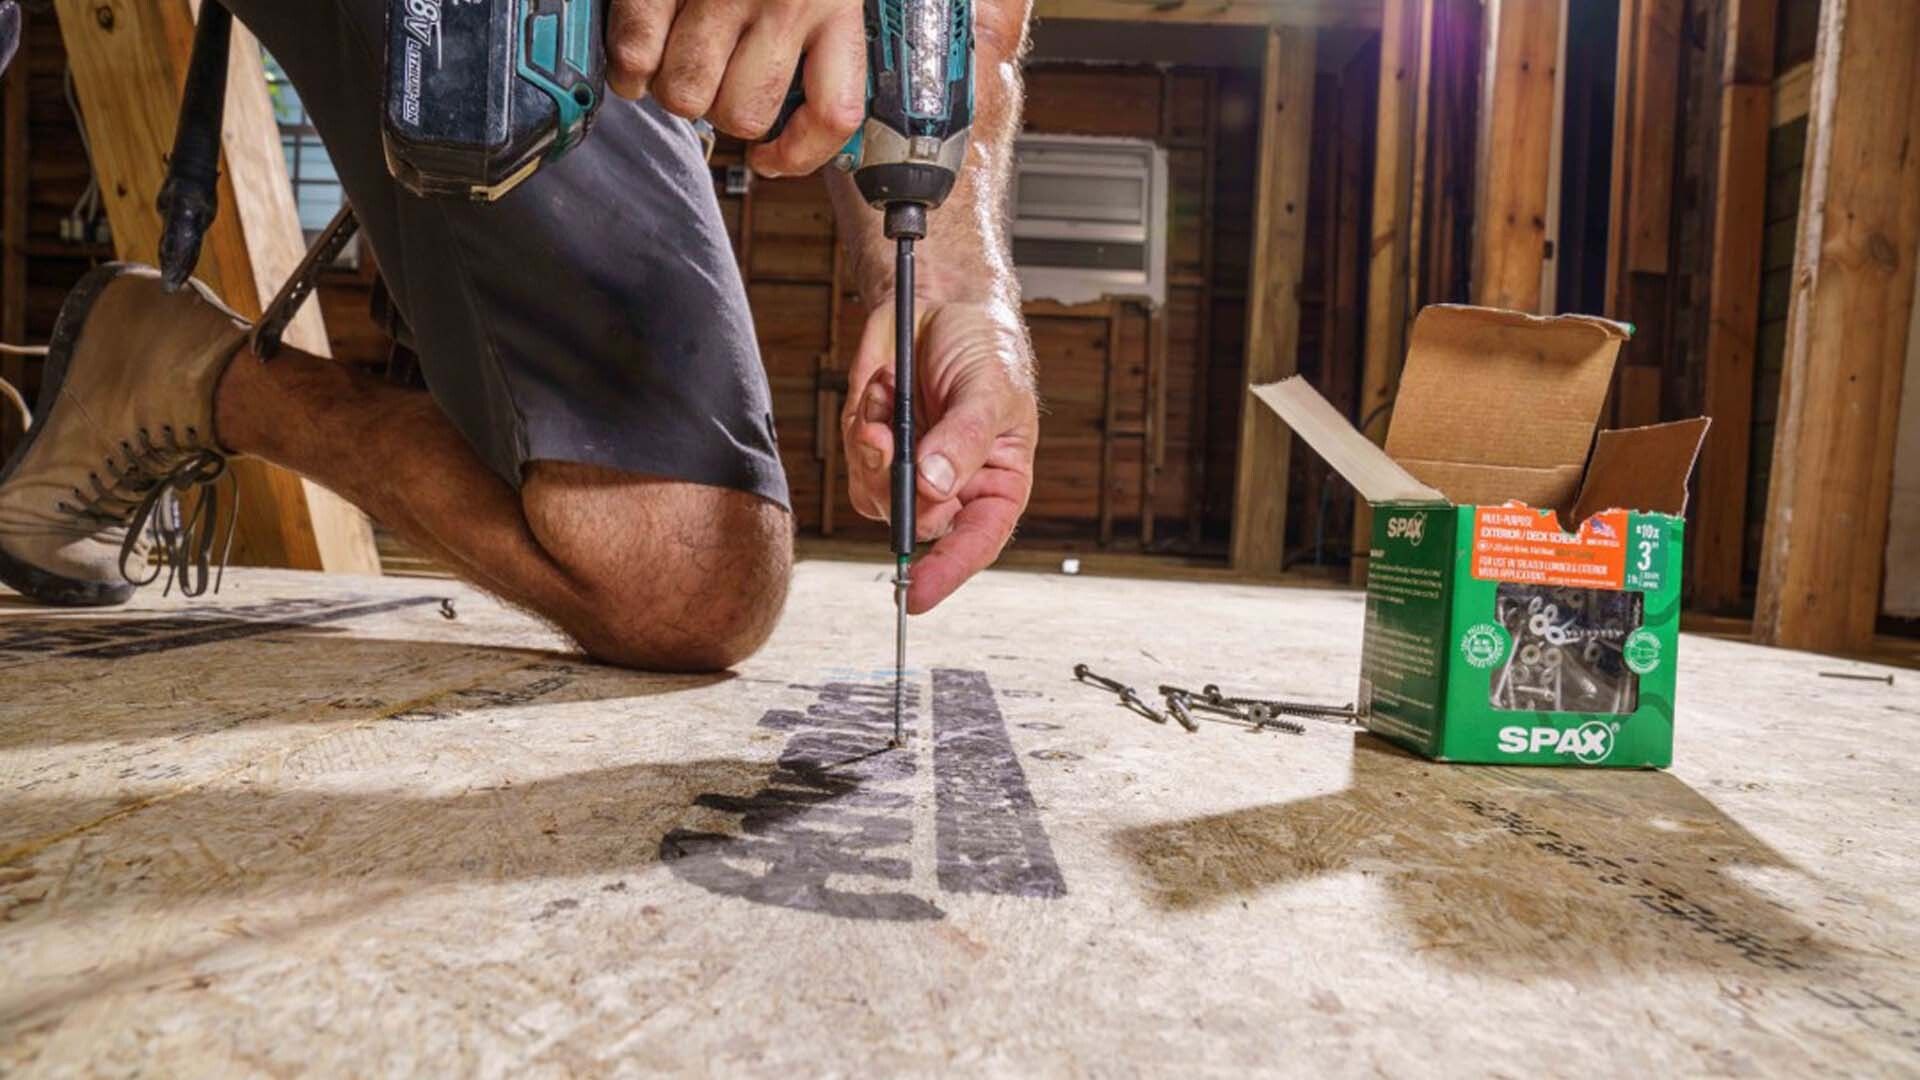
Install Subflooring and Exterior Sheathing
Install subflooring on the framed floor structure, using adhesive and fasteners from SPAX for secure attachment. For exterior walls, apply sheathing, such as plywood or oriented strand board (OSB), to provide rigidity and protect against weather elements.
Inspections and Further Steps
Once the framing is complete, schedule inspections to ensure compliance with local building codes. Address any necessary corrections or modifications before proceeding with electrical, plumbing, and insulation installations.
Framing a home is a complex yet rewarding process that requires precision and attention to detail. By following these steps and leveraging your carpentry skills, you'll be well on your way to framing a home like a professional. Remember, safety should always be a priority, so take precautions and use proper protective gear throughout the construction process. Good luck with your framing project!
SPAX is Independently Tested and Approved
Residential

Building Code
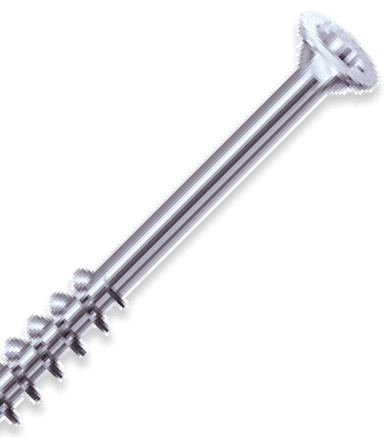
SPAX® POWERLAGS® ARE THE IDEAL FASTENERS FOR MULTI-PLY BEAM CONNECTIONS
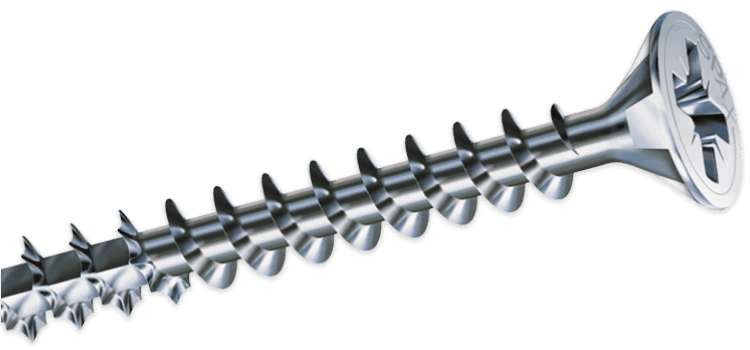
SPAX® T-STAR Washer Head construction fasteners with yellow zinc coating are intended for interior structural wood-to-wood connection applications. These fasteners are designed with a low profile large diameter washer head for applications requiring additional surface area under the head for superior pull-down force.
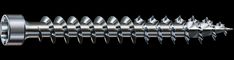
SPAX® CYLINDRIC HEAD TRUSS SCREWS ARE THE IDEAL SOLUTION FOR TRUSS & RAFTER ATTACHMENTS
There is an increasing requirement to provide resistance to the effects of roof uplift during storms and hurricanes especially in coastal areas. SPAX® provides an ideal substitute in the ¼” x 6-1/4” truss/rafter screw which is much easier and more cost effective to using hurricane clips/straps.
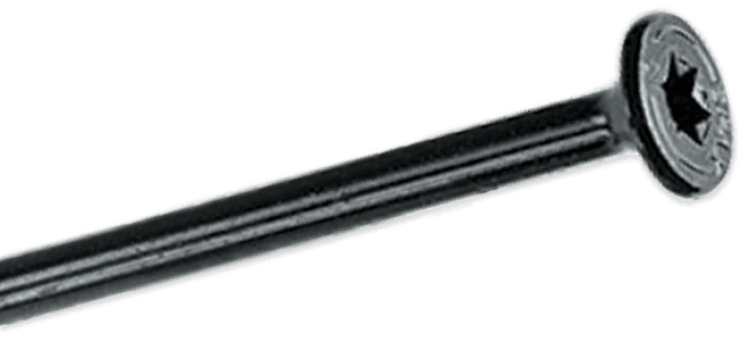
SPAX® T-STAR plus Cylindric Head fasteners with WIROX coatings are designed for interior framing applications typically found in residential dwelling truss/rafter attachments.
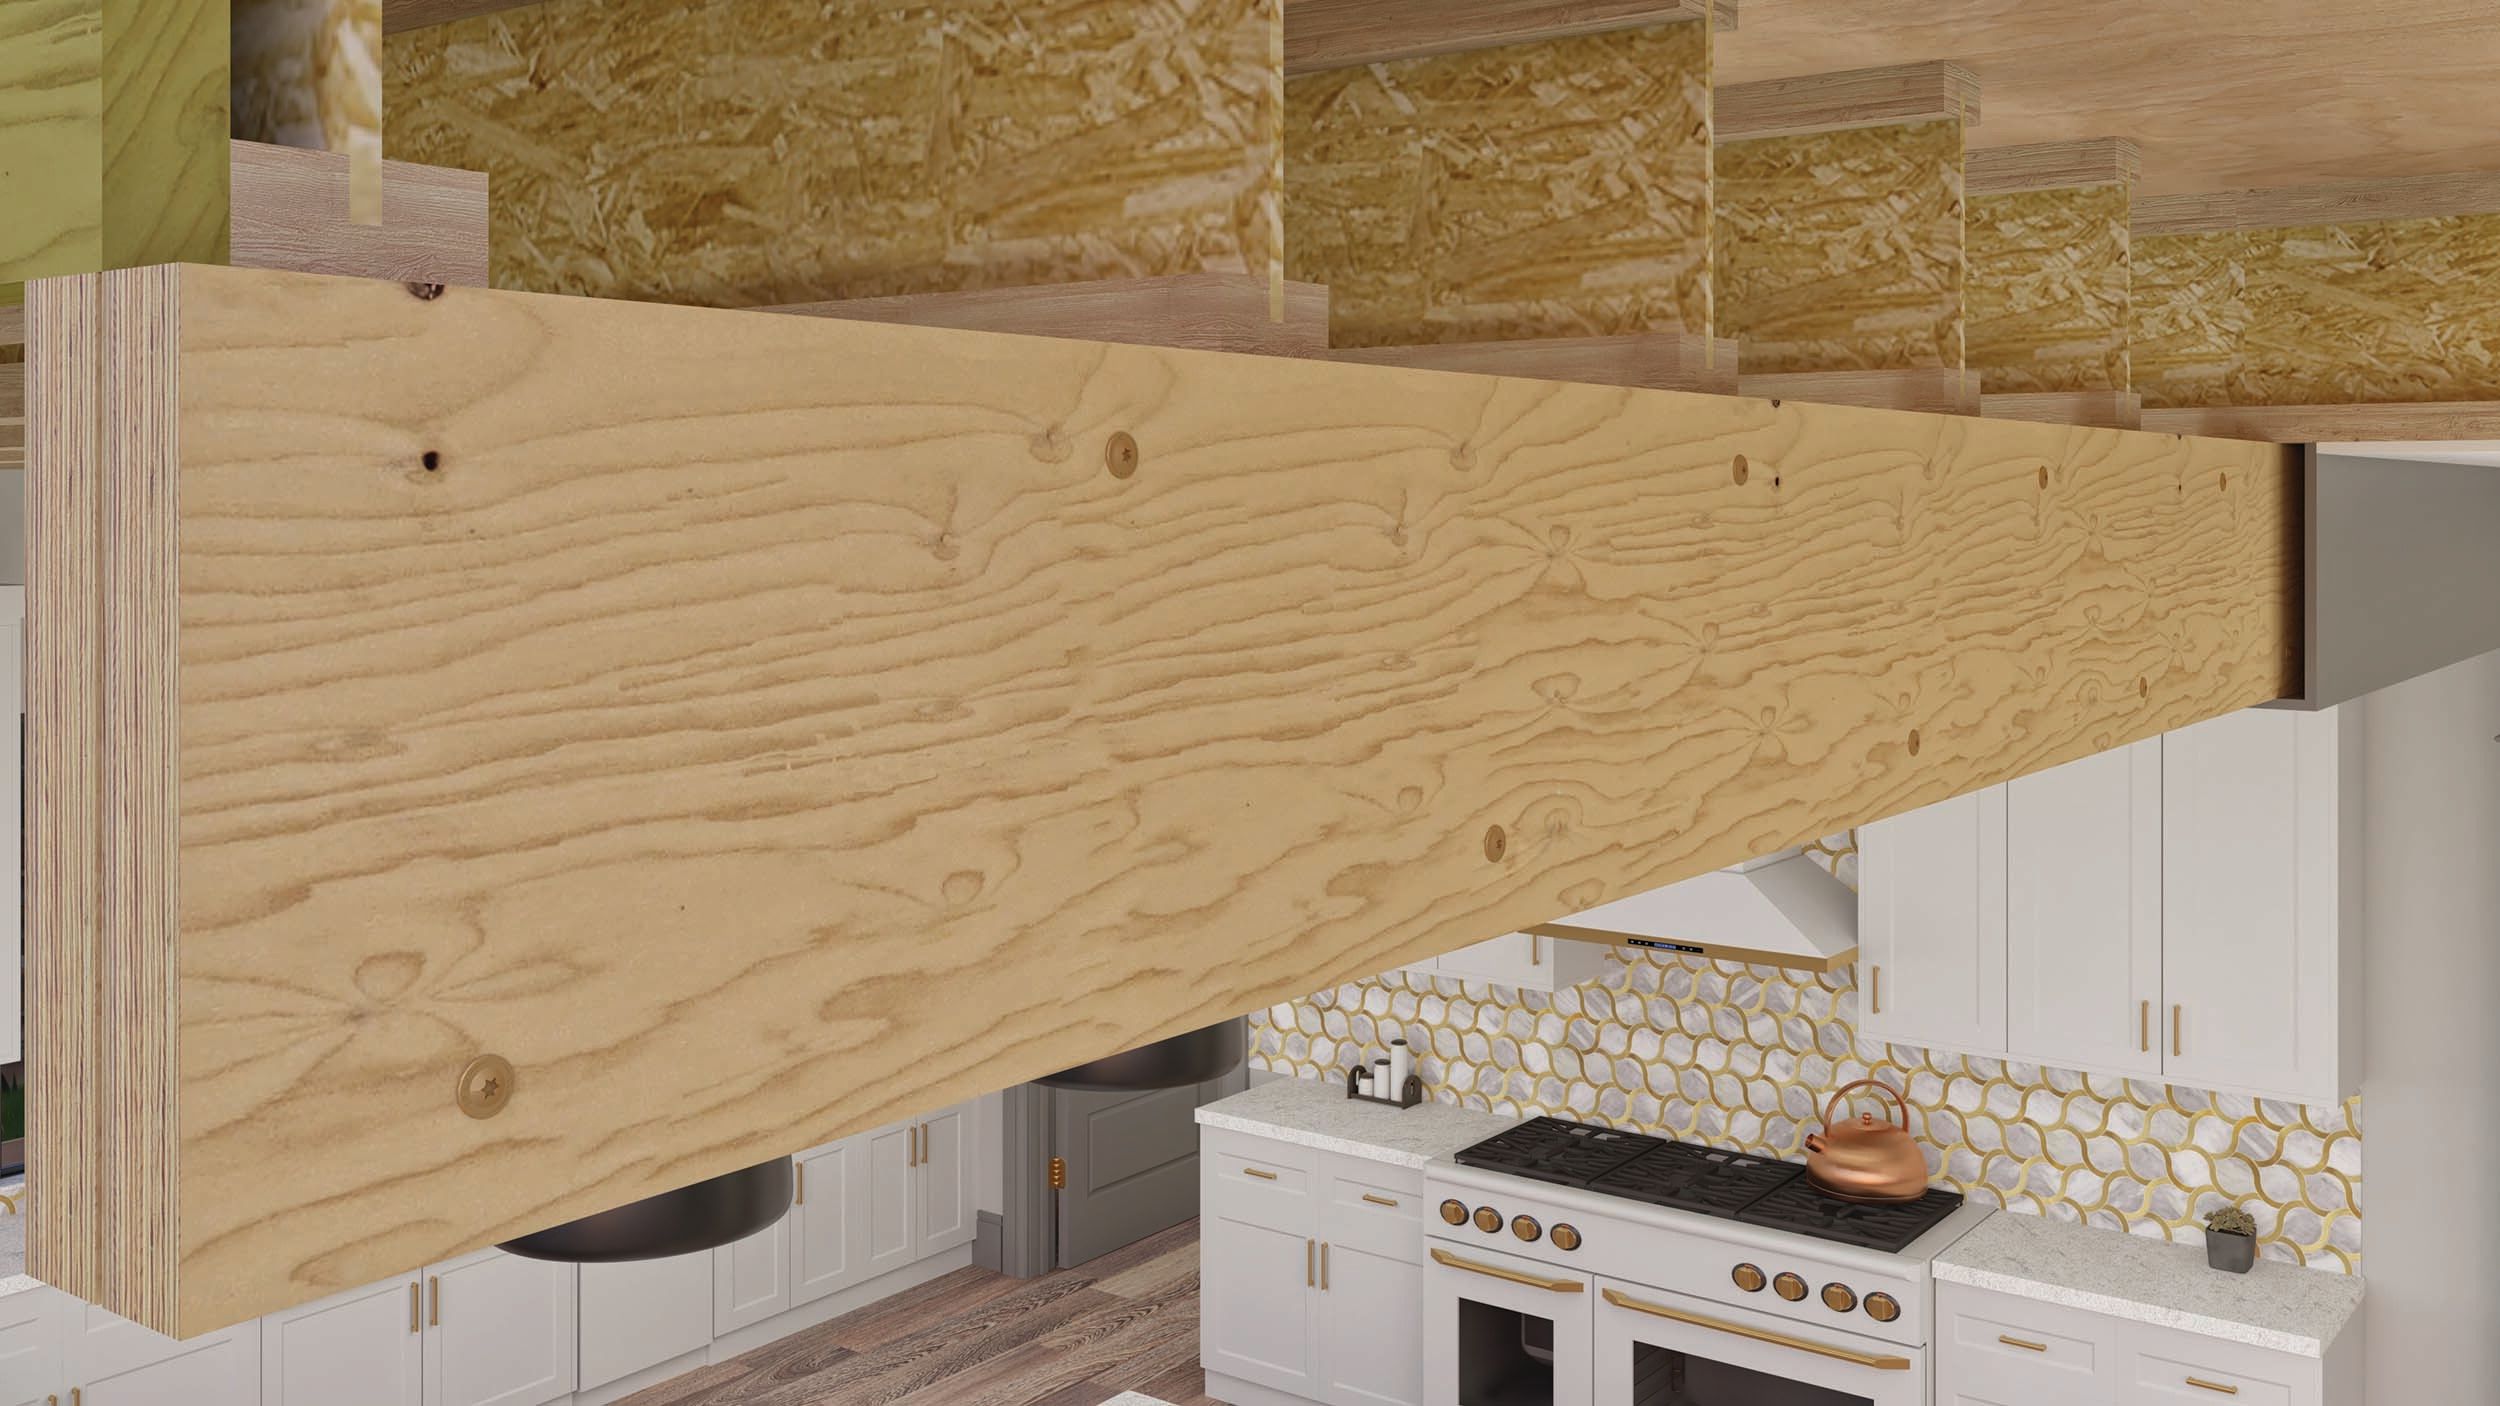
ATTACH A SQUEAK-FREE SUBFLOOR
SPAX® T-STAR plus Flat Head fasteners with yellow zinc and HCR-X™ coatings are designed for use in multiple connection applications found inside residential buildings. These "work horse" construction fasteners are designed to countersink in wood for a clean-flush finish and provides a quick and easy installation. In addition, they provide long-lasting, "contractor proven" secure connections.
SPAX® countersinking head construction screws are a perfect substitution for ring shank nails and adhesive to hold down subflooring in order to provide a long-lasting, secure attachment that doesn't squeak for the homeowner.
Interior Fastener Coatings
Zinc
“Clear zinc” is tested and recognized for use in untreated and above ground contact pressure treated lumber for interior dry/damp general construction applications.

Yellow Zinc
“Yellow zinc” is tested and recognized for use in untreated and above ground contact pressure treated lumber for interior dry/damp general construction applications.
ECoat
“eCoat” is recognized for use in untreated and above ground contact pressure treated lumber for interior dry/damp general construction applications.
WIROX®
“WIROX” is tested and recognized for use in untreated and above ground contact pressure treated lumber for interior dry/damp general construction applications.